English
 中文简体
中文简体
 日本語
日本語
 Español
Content
- 1 The Short Answer: Cook Low, Cook Slow, and Let the Ceramic Surface Do the Work
- 2 Why Ceramic Pans Behave Differently From Other Pots and Pans
- 3 What Is Actually Inside a Ceramic Pan
- 4 Matching Heat Settings to Your Stovetop Type
- 5 Step-by-Step: How to Cook With a Ceramic Pan the Right Way
- 5.1 Step 1: Start With a Cold Pan and Low-to-Medium Heat
- 5.2 Step 2: Add Oil or Butter Once the Pan Is Warm, Not Before
- 5.3 Step 3: Test Readiness With a Water Drop, Not Smoke
- 5.4 Step 4: Cook in a Single, Undisturbed Layer
- 5.5 Step 5: Use Silicone, Wood, or Nylon Utensils Only
- 5.6 Step 6: Deglaze and Cool Gradually
- 6 Technique Notes for the Foods Ceramic Pans Handle Best
- 7 Smoke Points: Choosing Oils That Match Ceramic's Heat Ceiling
- 8 Ceramic Pans vs. Other Pots and Pans: A Quick Comparison
- 9 Eight Cooking Habits That Wear Out Ceramic Pans Early
- 10 Cleaning and Long-Term Maintenance
- 11 Troubleshooting Common Ceramic Pan Problems
- 12 How Long a Ceramic Pan Should Last, and When to Replace It
- 13 Where Ceramic Fits Among Environmentally Conscious Pots and Pans
- 14 Frequently Asked Questions
- 14.1 Can I use ceramic pans on high heat for searing meat?
- 14.2 Do ceramic pans need to be seasoned like cast iron?
- 14.3 Why has my ceramic pan started sticking after a few months?
- 14.4 Are ceramic pans safe for metal utensils if they are labeled scratch-resistant?
- 14.5 Can ceramic pans go in the oven or under the broiler?
- 14.6 Is it normal for a ceramic pan to lose its non-stick quality over time?
- 14.7 What is the best oil to use in a ceramic pan?
- 14.8 Can I use a ceramic pan on an induction cooktop?
- 14.9 Why does my ceramic pan smell strange the first few times I use it?
- 14.10 Is it safe to use cooking spray in a ceramic pan?
- 14.11 Can two ceramic pans from different brands be cared for the same way?
- 14.12 Does the color of a ceramic pan affect how it cooks?
The Short Answer: Cook Low, Cook Slow, and Let the Ceramic Surface Do the Work
The fastest way to ruin a ceramic pan is to treat it like a piece of stainless steel or cast iron. Ceramic-coated pans perform best on low to medium heat, with a thin layer of oil or butter, and gentle, non-metal utensils. Unlike traditional pots and pans made from bare steel or cast iron, the ceramic coating is a sol-gel mineral layer bonded onto an aluminum or steel base, and it cannot tolerate the same aggressive heat or scraping that heavier cookware can. Once you understand that single rule, cooking eggs, fish, pancakes, and delicate sauces in a ceramic pan becomes almost effortless, with food releasing cleanly and cleanup taking under a minute. The rest of this guide walks through the exact heat settings, oil choices, seasoning routine, and long-term care steps that keep a ceramic pan performing like new for years instead of months.
Why Ceramic Pans Behave Differently From Other Pots and Pans
Ceramic cookware is often lumped in with the rest of the pots and pans in a kitchen cabinet, but the coating chemistry sets it apart. Traditional non-stick pans use a PTFE (polytetrafluoroethylene) coating, while ceramic pans use an inorganic silica-based coating applied through a process called sol-gel synthesis. This coating is free of PFOA and PFAS, which is the main reason home cooks switch to it, but it also means the surface is more porous at a microscopic level and less forgiving of high, sustained heat.
According to cookware manufacturer testing data commonly cited by kitchenware retailers, ceramic coatings begin to lose their non-stick properties when repeatedly exposed to temperatures above 450°F (232°C) for extended periods, while PTFE coatings typically start breaking down closer to 500°F (260°C). This lower heat tolerance is precisely why the cooking technique needs to change. A stainless steel skillet can sit empty on high heat for a minute without damage; a ceramic pan left on high heat with nothing in it can start to degrade within seconds, developing a dulled, less slick surface that shows up as sticking a few weeks later.
What Is Actually Inside a Ceramic Pan
Most ceramic pans sold today are built on a cast aluminum or forged aluminum base, chosen because aluminum heats up quickly and spreads that heat across the cooking surface faster than stainless steel or cast iron. Onto that base, manufacturers spray or dip a liquid ceramic precursor and then cure it in a high-temperature kiln, a process that converts the liquid into a hard, glass-like silica network. The result is a coating that is inorganic, meaning it contains no carbon-based polymer chain the way PTFE does, which is part of why it is marketed as a safer alternative for high-heat accidents.
The tradeoff sits in the microstructure. A sol-gel ceramic coating is naturally slightly porous when viewed under magnification, and that porosity is what gives it its glassy, non-stick feel when new. Over hundreds of heating cycles, oil residue and food particles can settle into those pores, gradually filling them in and reducing the slip. This is a normal aging process rather than a defect, and it explains why even a perfectly cared-for ceramic pan will not glide food the way it did on day one, though good habits can slow the change dramatically.
Base thickness matters as much as coating quality. A pan with a thin aluminum core will develop hot spots faster than one with a thicker, evenly forged base, and hot spots are one of the leading causes of localized coating breakdown, regardless of how carefully the cook manages the burner dial.
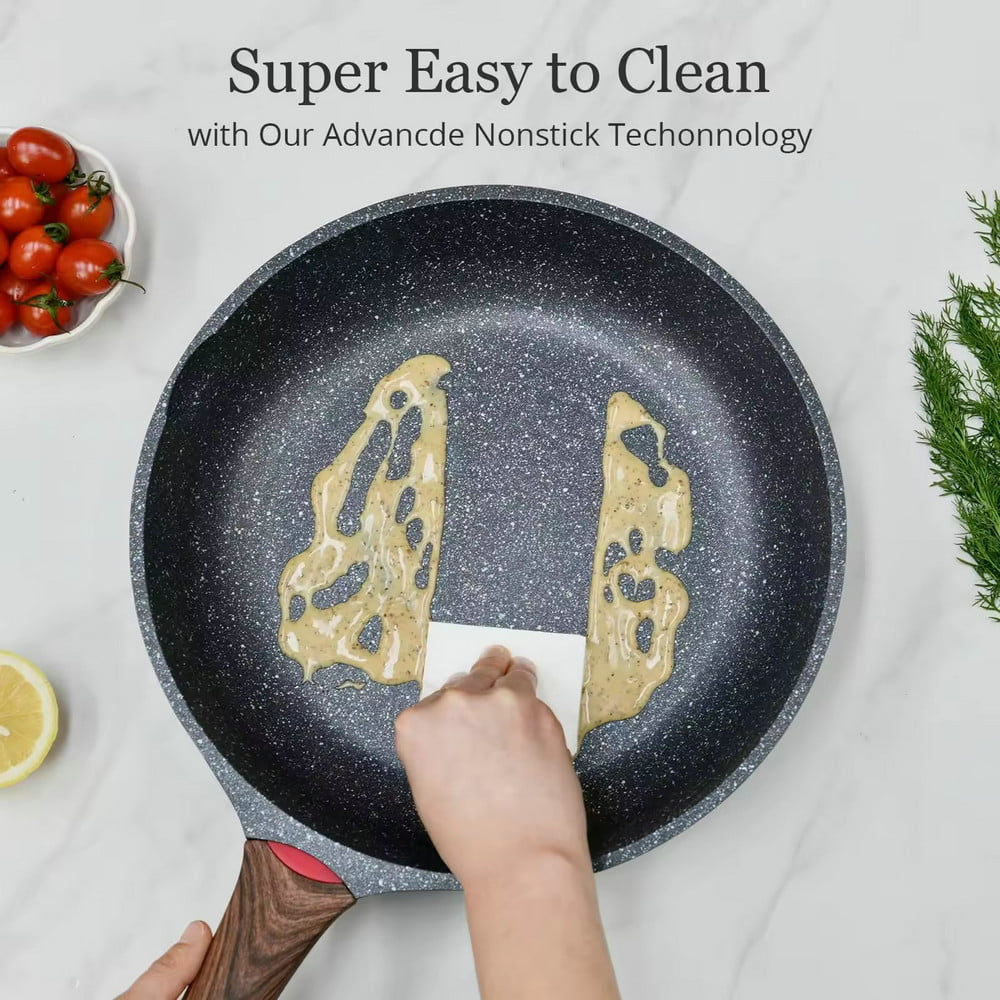
Matching Heat Settings to Your Stovetop Type
The number on a dial does not mean the same thing on every stove, and that mismatch is one of the most overlooked reasons ceramic pans overheat. The table below translates the general low-to-medium guidance into settings for the three most common home stovetops.
| Stovetop Type | Typical Dial Setting | Notes |
|---|---|---|
| Gas burner | Low to just below medium | Keep the flame tucked under the base; flames licking up the sides overheat the coating along the pan walls. |
| Electric coil | Medium-low (3 to 4 of 10) | Coils retain heat after adjustment, so lower the dial a few seconds before you think you need to. |
| Induction | Low third of the power scale | Induction heats the pan base almost instantly, so ceramic pans reach cooking temperature much faster than on gas or coil. |
Only ceramic pans labeled induction-compatible, which have a magnetic stainless steel or steel disk built into the base, will work on induction cooktops at all. Trying to use a purely aluminum-core ceramic pan on induction simply will not generate heat, regardless of the dial setting.
Step-by-Step: How to Cook With a Ceramic Pan the Right Way
Step 1: Start With a Cold Pan and Low-to-Medium Heat
Place the ceramic pan on the burner before turning on the heat, and set the dial to low or medium — roughly 2 to 5 on a 10-point gas or electric dial. Ceramic distributes heat efficiently but not always evenly across the entire base, so starting on lower heat prevents hot spots that can scorch the coating before food is even added.
Step 2: Add Oil or Butter Once the Pan Is Warm, Not Before
Let the empty pan warm for 60 to 90 seconds, then add a thin film of oil, roughly one to two teaspoons for a 10-inch pan. Avocado oil, refined olive oil, and butter all work well because their smoke points sit comfortably above the temperatures ceramic pans should reach. Adding oil to a completely cold pan can cause it to pool unevenly, while heating the pan dry for too long stresses the coating.
Step 3: Test Readiness With a Water Drop, Not Smoke
Flick a few drops of water into the pan. If they gather into small beads and skitter across the surface, the pan is ready. If the water evaporates instantly or the oil begins to smoke, the pan is too hot and should be removed from the heat for 30 seconds before continuing. Waiting for visible smoke, a habit carried over from cast iron cooking, is one of the most common causes of premature ceramic coating failure.
Step 4: Cook in a Single, Undisturbed Layer
Add food in a single layer with space between pieces so the pan temperature does not drop sharply and then spike as the cook compensates by raising the burner. Resist the urge to move food around immediately; most proteins and vegetables release naturally from a properly heated ceramic surface after 60 to 90 seconds of undisturbed contact.
Step 5: Use Silicone, Wood, or Nylon Utensils Only
Metal spatulas, whisks, and tongs are the single most common cause of scratched ceramic coatings, even coatings marketed as scratch-resistant. A silicone or wooden turner does the same job without shaving off microscopic layers of the surface every time it touches the pan.
Step 6: Deglaze and Cool Gradually
If a recipe calls for deglazing with wine, stock, or vinegar, remove the pan from direct high heat first, since ceramic surfaces are sensitive to rapid temperature swings known as thermal shock. Once cooking is finished, let the pan cool on the stovetop for a few minutes before rinsing; plunging a hot ceramic pan into cold water can cause micro-cracking in the coating over time.
Technique Notes for the Foods Ceramic Pans Handle Best
Eggs
Warm the pan on low for a full two minutes before adding butter or oil, since eggs are the most sensitive food to uneven heat and will stick almost immediately if the surface has any cold spots. Scrambled eggs cook best with the burner kept low the entire time, pulled off heat just before they look fully set.
Fish Fillets
Pat fillets completely dry before they touch the pan, since surface moisture is the main reason delicate fish tears on release. Cook skin-side down first on medium-low heat and leave the fillet undisturbed until the edges turn opaque roughly two-thirds of the way up before flipping.
Pancakes and Crepes
A slightly lower heat than most recipes suggest, combined with a very thin wipe of butter between batches rather than a fresh pour each time, produces the most even golden color on a ceramic surface. Too much butter pooling at the edges is a common cause of uneven browning.
Stir-Fried Vegetables
Because ceramic pans should not run as hot as a carbon steel wok, stir-frying works better in smaller batches with slightly more oil than a wok recipe calls for, keeping the pan moving constantly to compensate for the lower ceiling on heat.
Delicate Sauces
Cream-based and butter-based sauces benefit from ceramic's smooth surface and reduced risk of scorched bits sticking and burning, but they still need to be built on low heat with frequent stirring using a silicone spatula to scrape the pan sides evenly.
Smoke Points: Choosing Oils That Match Ceramic's Heat Ceiling
Because ceramic pans are meant to stay under roughly 450°F (232°C), the oil you choose should have a smoke point comfortably above the actual cooking temperature, not just above room-temperature expectations. The reference points below come from smoke point figures commonly published by culinary schools and oil producers.
| Oil or Fat | Approximate Smoke Point | Fit for Ceramic Pans |
|---|---|---|
| Avocado oil, refined | approximately 500°F (260°C) | Excellent |
| Refined olive oil | approximately 465°F (240°C) | Very good |
| Canola oil | approximately 400°F (204°C) | Good |
| Butter | approximately 300 to 350°F (150 to 177°C) | Good, at lower heat only |
| Extra-virgin olive oil | approximately 375 to 405°F (190 to 207°C) | Fine at low heat, avoid at medium-high |
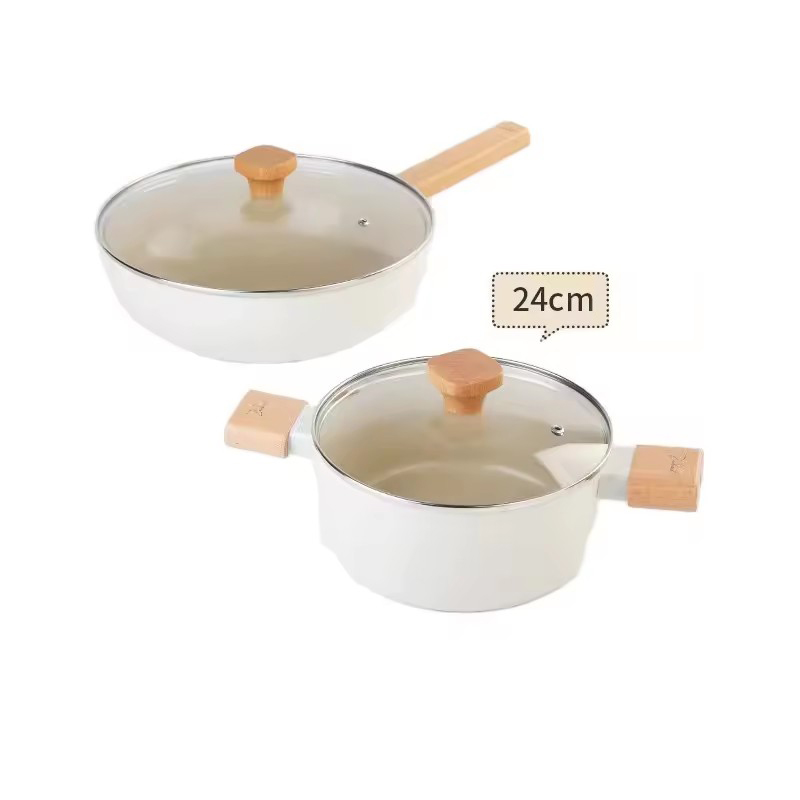
Ceramic Pans vs. Other Pots and Pans: A Quick Comparison
Every kitchen ends up with a mixed set of pots and pans, and knowing which material suits which task saves both food and cookware. The table below compares ceramic against the three materials most commonly found alongside it.
| Material | Recommended Heat Range | Best For | Utensil Compatibility |
|---|---|---|---|
| Ceramic-coated | Low to medium | Eggs, fish, pancakes, delicate sauces | Silicone, wood, nylon only |
| Stainless steel | Medium to high | Searing, browning, sauce reduction | Metal, silicone, wood |
| Cast iron | Medium to very high | Steaks, cornbread, oven-to-stove dishes | Metal, silicone, wood |
| PTFE non-stick | Low to medium | Eggs, crepes, low-fat cooking | Silicone, wood, nylon only |
The practical takeaway is that a ceramic pan should not be the pan reached for when a recipe calls for a hard sear or a deep brown crust. That job belongs to stainless steel or cast iron. Ceramic earns its place in the rotation for the gentler side of cooking, where a smooth release and easy cleanup matter more than a deep Maillard crust.
Eight Cooking Habits That Wear Out Ceramic Pans Early
- Preheating the pan empty on high heat, which stresses the coating before food ever touches it.
- Using cooking spray instead of liquid oil; many aerosol sprays contain propellants and lecithin that build up as a sticky film the coating cannot release.
- Cutting food directly in the pan with a knife, which scratches the surface just as effectively as a metal spatula.
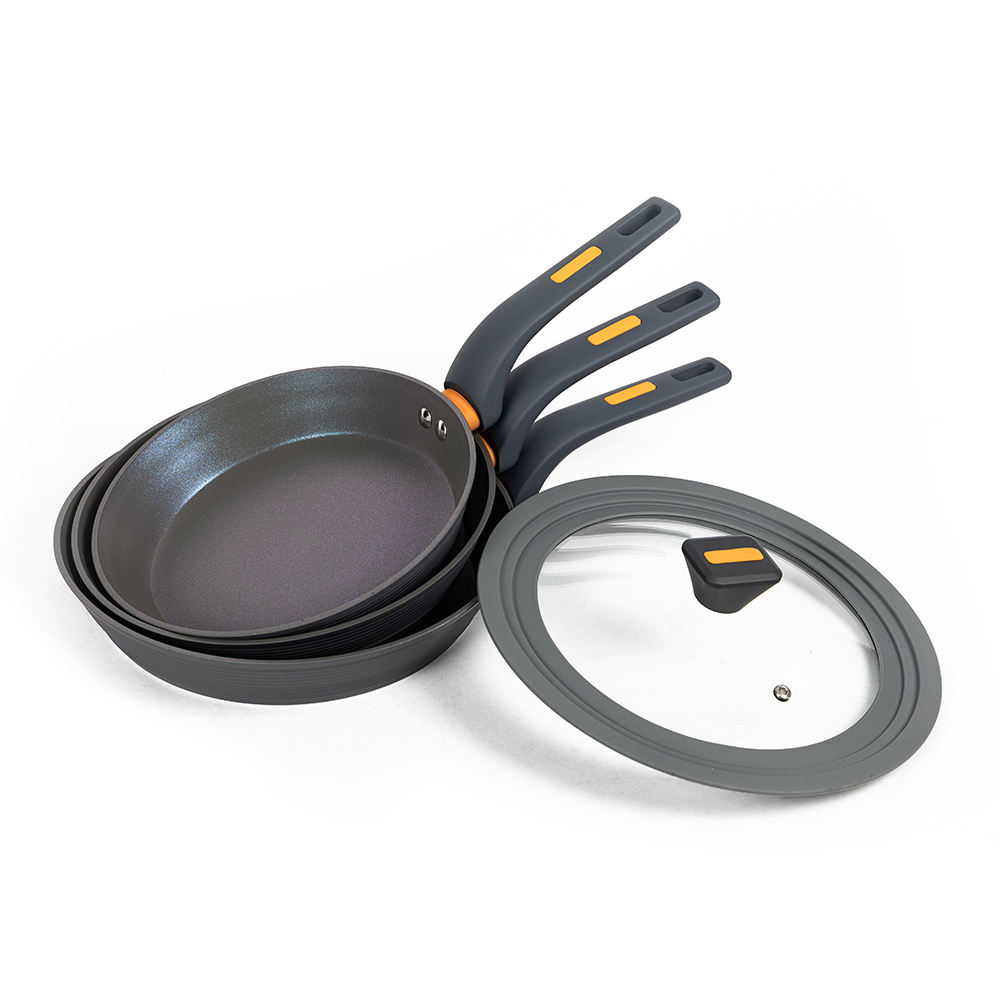
- Stacking pans without a protective liner, letting the bottom of one pan grind against the coating of the one beneath it.
- Running a hot pan under cold water immediately after cooking, which can warp the base and micro-crack the coating from thermal shock.
- Leaving acidic ingredients like tomato sauce or citrus juice to sit in the pan for hours after cooking, which can slowly dull the coating's surface finish.
- Putting a ceramic pan through the dishwasher regularly; detergent formulated for dishwashers is more abrasive than hand dish soap and speeds up coating wear.
- Skipping oil entirely to save calories, which removes the thin protective barrier the coating relies on and accelerates the loss of slickness.
Cleaning and Long-Term Maintenance
Daily Cleaning
Most ceramic pans need nothing more than warm water, a few drops of mild dish soap, and a soft sponge. Baked-on residue can usually be loosened by adding water to the still-warm pan and letting it sit for five minutes rather than scrubbing immediately. Avoid steel wool, abrasive scouring pads, and powdered cleansers, all of which dull the coating faster than everyday cooking ever would.
Occasional Deep Refresh
A gentle paste of baking soda and water, left on the surface for ten minutes before a light wipe, restores slickness to a ceramic pan that has started to feel slightly grabby. This should be treated as an occasional refresh, not a weekly routine, since even mild abrasives used too often will thin the coating over time.
Storage
Store ceramic pans with a folded paper towel, felt pan protector, or dish towel between them if they must be stacked. Hanging storage on a rail avoids contact wear entirely and is the option most manufacturers recommend for extending coating life.
Troubleshooting Common Ceramic Pan Problems
| Problem | Likely Cause | Fix |
|---|---|---|
| Food sticks in patches, not everywhere | Uneven preheating or hot spots in the base | Preheat longer on lower heat and rotate the pan slightly during warm-up |
| Surface looks cloudy or discolored | Mineral deposits from hard water or overheating | Soak in a mix of water and white vinegar for 15 minutes, then wash normally |
| Brownish film will not wash off | Baked-on oil residue from repeated high heat | Simmer water with a spoonful of baking soda in the pan for five minutes, then wipe |
| Pan warps and rocks on the burner | Thermal shock from rapid temperature changes | Not reversible; avoid cold rinses on a hot pan going forward and consider replacement |
| Faint metallic taste in food | Coating has worn through to the metal base in spots | Inspect closely for exposed metal; retire the pan if the base is visible |
How Long a Ceramic Pan Should Last, and When to Replace It
With attentive heat control and hand washing, a quality ceramic pan typically performs well for one to three years of regular use before non-stick performance noticeably declines. Budget ceramic pans with thinner coatings often show wear closer to the six-month to one-year mark, while heavier, forged options from established cookware brands can sometimes stretch past three years with careful use.
Three signs mean it is time to retire a ceramic pan: visible scratches down to the metal base, food sticking even with fresh oil on low heat, and any flaking or chipping of the coating itself. Continuing to cook on a pan with exposed base metal is the main reason cooks decide to replace rather than repair, since there is no reliable way to re-coat ceramic cookware at home.
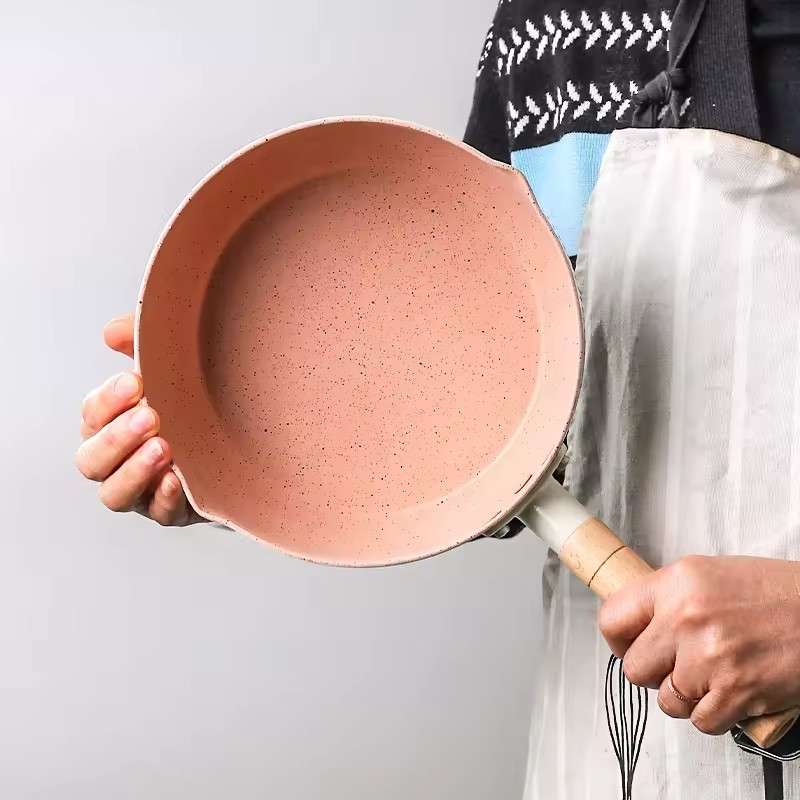
Where Ceramic Fits Among Environmentally Conscious Pots and Pans
Shoppers looking to reduce synthetic coatings in the kitchen often compare ceramic against other pots and pans on environmental grounds, not just cooking performance. Because the ceramic layer is silica-based rather than a fluoropolymer, it avoids the PFOA and PFAS compounds that raised concerns around older non-stick coatings, and the aluminum or steel base underneath is broadly recyclable at end of life, provided the coating is removed or the pan is processed through a facility equipped to separate mixed materials.
The tradeoff is durability. Because ceramic coatings wear out faster than bare cast iron or stainless steel, a ceramic pan is likely to be replaced more often over a decade of cooking, which is worth weighing against its lower-impact manufacturing footprint. Cooks who want the lowest overall material turnover sometimes keep a single cast iron or stainless piece for high-heat tasks and reserve ceramic for the gentler jobs it excels at, extending the working life of the whole set of pots and pans in the kitchen.
Frequently Asked Questions
Can I use ceramic pans on high heat for searing meat?
It is not recommended. High, sustained heat degrades the ceramic coating faster than any other single factor, and the coating's non-stick performance is also weaker at high temperatures than it is at low to medium heat, so searing tends to disappoint on both counts. For a hard sear, a stainless steel or cast iron pan will give better results and last longer under that kind of heat.
Do ceramic pans need to be seasoned like cast iron?
They do not require the same iron-oxide seasoning process, but many manufacturers recommend a light one-time seasoning before first use: coat the interior with a thin layer of cooking oil, heat on low for two to three minutes, let it cool, then wipe away the excess. This helps settle the coating and can improve initial food release.
Why has my ceramic pan started sticking after a few months?
The most common causes are cooking on heat that is too high, using cooking sprays that leave residue, or washing with abrasive scrubbers. Reducing heat to low-medium, switching to liquid oil applied with a brush or paper towel, and doing an occasional baking soda refresh usually restores much of the lost performance.
Are ceramic pans safe for metal utensils if they are labeled scratch-resistant?
Scratch-resistant labeling generally means the coating tolerates occasional light contact better than older ceramic formulas, not that metal utensils are recommended for regular use. Sticking with silicone, wood, or nylon utensils remains the safest way to preserve the coating across the life of the pan.
Can ceramic pans go in the oven or under the broiler?
Most ceramic pans with metal handles can go in the oven up to a manufacturer-specified limit, commonly between 350°F and 500°F (177°C to 260°C) depending on the brand and whether the handle is coated or bare metal. Broiling is usually not recommended because the direct, close heat source exceeds the coating's safe range. Checking the specific limit printed in the product manual is the most reliable way to confirm.
Is it normal for a ceramic pan to lose its non-stick quality over time?
Some gradual decline is expected with any coated cookware, ceramic included, typically becoming noticeable after one to two years of regular use. The rate of decline depends heavily on heat habits, utensil choice, and cleaning method, which is why two identical pans in two different kitchens can have very different lifespans.
What is the best oil to use in a ceramic pan?
Neutral oils with moderate smoke points, such as avocado oil, refined olive oil, canola oil, or butter, work well for the low-to-medium heat range ceramic pans are designed for. Extra-virgin olive oil is also fine at lower temperatures but can begin to smoke and turn bitter if the pan runs hotter than intended.
Can I use a ceramic pan on an induction cooktop?
Only if the pan is specifically labeled induction-compatible, meaning it has a magnetic base disk built in. A standard aluminum-core ceramic pan without that disk will not heat at all on an induction cooktop, since induction relies on a magnetic reaction with the pan base rather than direct flame or coil contact.
Why does my ceramic pan smell strange the first few times I use it?
A faint odor during the first few uses is usually residual manufacturing oil burning off and typically fades after two or three cooking sessions. Washing the pan thoroughly and doing a light seasoning pass before first use helps this process along.
Is it safe to use cooking spray in a ceramic pan?
It is better avoided. Most aerosol cooking sprays contain soy lecithin and propellants that leave a sticky, hard-to-remove residue on ceramic surfaces over repeated use, gradually reducing non-stick performance even though a small amount of oil should, in theory, help. Pouring a measured amount of liquid oil or brushing it on avoids this buildup entirely.
Can two ceramic pans from different brands be cared for the same way?
The general principles of low heat, non-metal utensils, and hand washing apply across brands, but exact oven-safe temperatures, dishwasher compatibility, and warranty terms vary. Checking the specific care card or manual that came with each pan is the most reliable way to confirm brand-specific limits.
Does the color of a ceramic pan affect how it cooks?
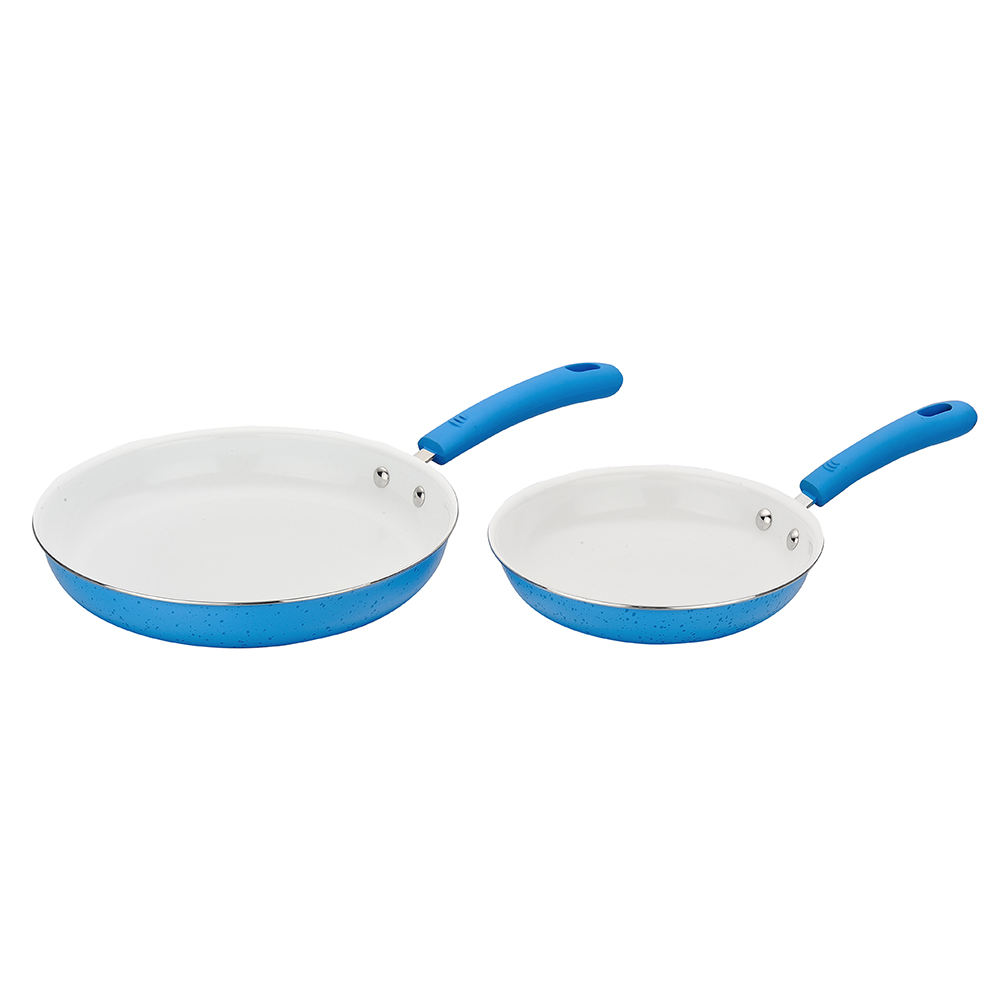
Coating color is primarily cosmetic and comes from pigments added during the sol-gel process, so it does not meaningfully change heat conductivity or non-stick performance. Darker coatings can sometimes make it slightly harder to judge browning by eye compared with lighter interiors, which is a minor visual consideration rather than a performance difference.