English
 中文简体
中文简体
 日本語
日本語
 Español
Content
- 1 The Fastest Way to Clean Burnt Cast Iron
- 2 Match the Method to How Badly It's Burnt
- 3 What Actually Happens When Cast Iron Burns
- 4 Tools You Actually Need — and Ones to Skip
- 5 Step-by-Step: The Salt Scrub Method
- 6 Step-by-Step: The Simmering Water Method
- 7 Step-by-Step: The Baking Soda Paste Method
- 8 Removing Stubborn Carbon with a Vinegar Soak
- 9 Cleaning by What Actually Burned
- 10 Re-Seasoning After a Deep Clean
- 11 Common Mistakes That Damage Cast Iron
- 12 Matching Cleaning Methods to Pieces in a Cast Iron Cookware Set
- 13 How Climate and Storage Affect Cleaning Frequency
- 14 A Simple Maintenance Routine
- 15 When to Do a Full Restoration Instead of Spot Cleaning
- 16 Frequently Asked Questions
The Fastest Way to Clean Burnt Cast Iron
For most burnt-on food, three steps solve the problem: scrub the surface with coarse salt and a small amount of oil, simmer water in the pan to loosen anything baked on, then dry the pan over heat and wipe in a thin layer of oil before it goes back in the cupboard. Soap, steel wool, and long soaks are not required for everyday burnt food and often do more harm than the burn itself.
For carbon that will not lift with salt or simmering, a short vinegar soak followed by a full re-seasoning resets the pan to bare, usable condition. The sections below walk through every method in order, from a quick weeknight fix to a full restoration of a badly neglected pan or a mismatched piece in a cast iron cookware set, along with the tools worth owning, the mistakes that make burns worse, and how climate and storage habits affect how often any of this is needed.
Match the Method to How Badly It's Burnt
Not all burnt cast iron is the same problem, and treating a light scorch the same way as a decade of neglect wastes time in one direction or damages the pan in the other. Three tiers cover almost every case.
Surface scorching
A thin brown or black film from a single overcooked meal. The pan still looks mostly seasoned underneath. Salt scrub only, no soaking needed.
Baked-on residue
Sticky patches around the edges or a stubborn ring at the bottom from sauce or grease. Simmering water first, then salt scrub on anything left.
Thick carbon shell
A cracked, flaking black crust, often from a pan left on heat unattended or acquired secondhand. Vinegar soak, then a full re-season.
What Actually Happens When Cast Iron Burns
Cast iron develops two very different layers over time, and mixing them up is the reason most cleaning attempts either fail or go too far. The first is seasoning: a thin, polymerized coat of oil baked onto the metal through repeated heating, forming the smooth, dark, non-stick surface that makes the pan useful in the first place. The second is burnt residue: sugars, proteins, and fat from food that carbonize on top of that seasoning once the pan crosses roughly 400°F (204°C) without enough moisture or movement to keep them from sticking.
The goal of cleaning is to remove the second layer without touching the first.
This is why a scorched skillet often looks worse than it is. The black crust sitting on top is loose carbon, not the pan itself failing. Once that crust is gone, the seasoning underneath is usually intact, or only needs a light touch-up rather than a full strip-and-restart. The exception is when the burn happened at very high, sustained heat — an empty pan left on a hot burner, for example — where the seasoning layer itself can scorch and need replacing along with the food residue on top of it.
Color is a useful, if rough, guide to what's going on. A yellow-brown film usually means light polymerization damage from a single hot, dry episode and often buffs out with the salt method. A matte gray patch means the seasoning has worn through to bare metal and needs oil and heat, not more scrubbing. A cracked, flaking black shell that lifts in flakes rather than powder is carbon sitting on top of intact seasoning, and responds well to soaking.
Tools You Actually Need — and Ones to Skip
Worth Owning
- Coarse kosher or sea salt
- A stiff nylon or chainmail scrubber
- A plain wooden or silicone spatula
- Neutral oil for scrubbing, plus flaxseed or grapeseed oil for seasoning
- A soft cloth or paper towel for oiling and buffing
Usually Unnecessary
- Metal scouring pads for routine use
- Commercial oven-cleaner sprays
- Wire drill-brush attachments
- Dish soap in large quantities or long soaks
- Specialty "cast iron cleaner" products for anything short of heavy rust
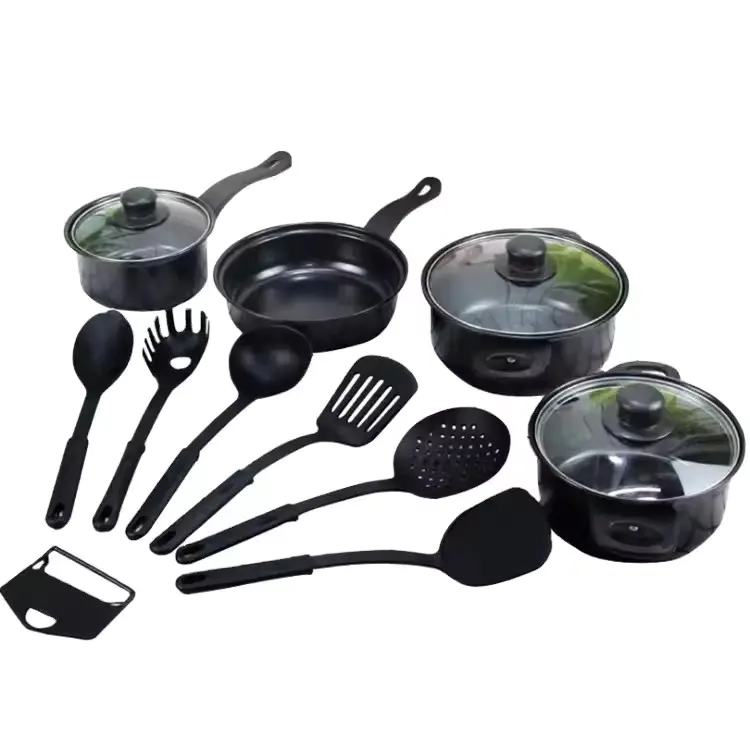
Most of what a cast iron cookware set needs sits in a kitchen already. The pieces worth buying specifically — chainmail scrubbers and flaxseed oil — cost little and last for years, which is more than can be said for scouring pads that wear the seasoning down faster than it rebuilds.
Step-by-Step: The Salt Scrub Method
This is the right first move for daily cooking residue, light scorching, and anything that isn't a thick black shell. It uses the pan's own residual heat and a mildly abrasive scrub, so it never strips a healthy seasoning layer.
- 1
Let the pan cool to warm, not cold. A pan that's too hot will scald your hand; one that's stone cold makes residue harder to lift.
- 2
Add 2–3 tablespoons of coarse kosher or sea salt directly onto the burnt area.
- 3
Add about a teaspoon of neutral oil so the salt forms a gritty paste rather than sitting dry on the metal.
- 4
Scrub in small circles with a folded paper towel, a stiff nylon brush, or a chainmail scrubber for 2–3 minutes.
- 5
Wipe the salt and residue out, then rinse briefly under hot water only — no standing water, no soaking.
- 6
Set the pan on a low burner for about 2 minutes to drive off every trace of moisture before it's put away.
- 7
While still warm, rub in a very thin layer of oil with a paper towel, then buff off any excess so the surface feels dry, not greasy.
Step-by-Step: The Simmering Water Method
Sticky, baked-on grease around the edges of a pan responds better to heat and moisture than to scrubbing alone. This method works especially well after braising, deglazing, or cooking anything with a sugary sauce.
- 1
Fill the pan about a third full with water and bring it to a boil on the stove.
- 2
Lower to a simmer for 5–10 minutes, scraping the bottom with a wooden spatula as the water works underneath the residue.
- 3
Pour the water out and scrub any remaining spots with a stiff nylon brush.
- 4
Dry fully on the stove over low heat, then oil lightly, exactly as in the salt scrub method above.
Step-by-Step: The Baking Soda Paste Method
For a burn that's dry, patchy, and localized — a single scorched ring rather than an even coat — a paste works better than either salt or a full simmer, because it stays put on the exact spot instead of spreading across the whole pan.
- 1
Mix baking soda with just enough water to form a thick, spreadable paste.
- 2
Spread the paste directly over the scorched area and let it sit for 15–20 minutes.
- 3
Scrub with a nylon brush in circular motions until the residue lifts.
- 4
Rinse, dry fully on the stove, and oil lightly, as with the other methods.
Removing Stubborn Carbon with a Vinegar Soak
This is the method for a pan that's been badly scorched, left on heat unattended, or picked up secondhand with a thick, cracked black shell that salt and simmering can't touch. It works because vinegar is a mild acid that loosens carbonized buildup — but that same property means it will start etching bare iron if left too long.
Once the carbon has softened, scrub it away with a chainmail scrubber or stiff brush, rinse thoroughly, and dry the pan completely on the stove. Because vinegar strips seasoning along with the carbon, this method always ends with a full re-season, covered next. If any carbon is still holding on after one soak, a second short soak is safer than extending the first one — check, dry, evaluate, then decide, rather than leaving the pan submerged and walking away.
Cleaning by What Actually Burned
The type of food that scorched changes which method works fastest, since sugar, protein, and fat all carbonize differently.
Sugar & Sauce Residue
Caramelized sugar forms a hard, glassy layer that resists salt alone. Simmer water first to soften it, then finish with a salt scrub on any remaining spots.
Protein — Meat, Eggs, Fish
Protein burns tend to sit in a thin, even film rather than a thick shell. A standard salt scrub usually clears it in one pass.
Oil & Fat Buildup
Overheated or repeatedly reused oil leaves a sticky, tacky residue rather than a hard crust. The baking soda paste method lifts this more reliably than salt, which tends to just push tacky residue around.
Starch — Rice, Potatoes, Bread
Starch scorches into a dry, flaky layer that responds well to a short simmer followed by a light salt finish.
Re-Seasoning After a Deep Clean
Any method that reaches bare metal — vinegar soaking, steel wool, or a stubborn rust spot — needs to be followed by re-seasoning before the pan touches food again. This is what turns a gray, dry-looking pan back into a smooth, dark cooking surface.
| Oil | Smoke Point | Result |
|---|---|---|
| Flaxseed oil | ~225°F (107°C) | Very hard layer, more prone to flaking if applied too thick |
| Grapeseed oil | ~420°F (216°C) | Durable, even finish, forgiving for beginners |
| Canola oil | ~400°F (204°C) | Reliable everyday choice, widely available |
| Vegetable shortening | ~360°F (182°C) | Traditional option, softer initial layer |
Common Mistakes That Damage Cast Iron
Soaking in soapy water overnight. This loosens the bond between seasoning and metal and can leave rust spots within hours in humid kitchens.
Running it through the dishwasher. Prolonged moisture and harsh detergent strip seasoning and can pit the surface over repeated cycles.
Reaching for a metal scouring pad on light residue. Coarse salt handles most jobs; steel wool used routinely thins the seasoning faster than it can rebuild.
Cooking acidic food in a thin-seasoned pan. Tomato sauce or wine reductions react with exposed iron, producing a metallic taste and thinning the surface further.
Storing it with the lid on while still warm. Trapped moisture under a lid is one of the most common causes of surprise rust spots.
Applying too much oil when seasoning. A thick coat turns tacky and flakes off rather than curing hard, undoing the work of re-seasoning.
Ignoring a small rust spot. A dime-sized spot left untreated tends to spread under humidity, turning a five-minute fix into a full re-season later.
Matching Cleaning Methods to Pieces in a Cast Iron Cookware Set
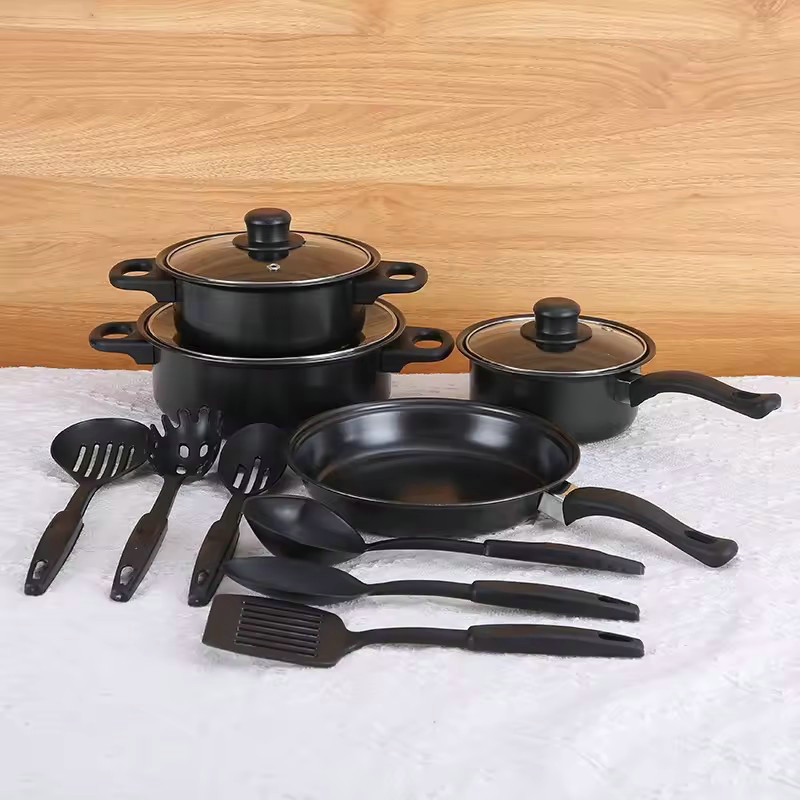
Not every piece in a set burns the same way or needs the same attention. A skillet used for searing steaks behaves very differently from a delicate egg pan, and cleaning them identically either under-treats one or overworks the other.
| Piece | Common Burn Risk | Best Method | Re-season Frequency |
|---|---|---|---|
| 10–12in Skillet | High — searing, high heat | Salt scrub; vinegar soak occasionally | After every deep clean |
| Dutch Oven | Medium — sugary braises | Simmering water method | Every 4–6 uses |
| Griddle / Flat Pan | High — sugar, bacon fat | Salt scrub | Every 3–4 uses |
| Grill Pan | Medium-high — char in ridges | Stiff brush + simmer | Every 5 uses |
| Small Egg Pan | Low — delicate, low heat | Light salt wipe only | Occasional touch-up |
| Deep Fryer / Chicken Fryer | Medium — repeated oil use | Baking soda paste for tacky spots | Every 4–5 uses |
Sets that mix cast iron with enameled or carbon steel pieces need one extra distinction: enameled cast iron should never get the salt scrub or vinegar soak described here, since the enamel coating isn't seasoned metal and reacts differently to acid and abrasion. Bare, seasoned pieces are the ones these methods are built for.
How Climate and Storage Affect Cleaning Frequency
Two cooks with identical pans and identical habits can end up on very different maintenance schedules once humidity enters the picture. In damp or coastal climates, cast iron left even slightly under-dried can show a light haze of rust within a day, which pushes the salt scrub or oil touch-up from "monthly" to "weekly" regardless of how it's used. In dry climates, the same pan can go far longer between deep cleans, since the biggest risk — trapped moisture — is less likely in the first place.
Where a pan is stored matters as much as the climate outside. Stacking pans directly on top of each other without a paper towel or pan protector between them can transfer moisture and scratch the seasoning of the piece underneath. Keeping cast iron in a closed, poorly ventilated cabinet near a dishwasher or sink is one of the most common, least obvious causes of recurring rust in an otherwise well-maintained set.
A Simple Maintenance Routine
After Every Use
Wipe out while warm, dry fully on the stove, and rub in a thin layer of oil before storing.
Weekly, If Used Daily
Run a full salt scrub even without visible burning to keep the seasoning smooth and buildup from layering up.
Monthly
Check for dull, dry, or flaking patches and spot re-season just those areas rather than the whole pan.
When to Do a Full Restoration Instead of Spot Cleaning
Occasionally a pan is past the point where salt, simmering, or a single vinegar soak makes sense — usually a piece found at a secondhand shop or pulled out of storage after years, covered in rust or an uneven, gummy old seasoning layer. In that case, spot treatment wastes time. The faster route is a full strip: a longer vinegar soak in stages, scrubbing back to bare gray metal across the whole cooking surface, then three to four full seasoning coats built up one at a time in the oven, rather than trying to patch around the damage.
This is also the right approach for a single spot that's been treated repeatedly without holding — if the same rust patch or dull area keeps coming back after re-seasoning, the layer underneath it is likely uneven, and starting that section from bare metal gives the new seasoning something consistent to bond to.
Frequently Asked Questions
Can I use dish soap on cast iron?
Yes, in small amounts. Modern, well-polymerized seasoning tolerates a quick wash with a little soap; what actually damages the pan is prolonged soaking, not a fast soapy rinse.
Why did my cast iron turn black and flaky after cleaning?
This usually means an overly abrasive tool stripped the seasoning down to bare metal, which then oxidizes and flakes. A full re-season, as described above, resolves it.
Is it safe to use vinegar on cast iron regularly?
No. A vinegar soak is an occasional fix for heavy carbon buildup, not a routine cleaning step. Repeated acid exposure thins the metal over time.
How do I know when a pan is fully re-seasoned?
The surface looks uniformly matte to satin black or dark brown, feels smooth rather than sticky, and water beads and rolls off instead of soaking in.
Can burnt cast iron be saved if it has orange rust spots?
Usually, yes. Scrub the rust off with steel wool down to gray metal in that spot only, wash, dry completely, then oil and bake as with a standard re-season.
What's the best oil for cleaning versus seasoning cast iron?
For scrubbing, any plain neutral oil like vegetable or canola works fine. For seasoning, oils with a higher smoke point and better polymerization — flaxseed or grapeseed — build a harder, longer-lasting layer.
How often should each piece in a cast iron cookware set be deep cleaned?
It depends on use frequency and food type. Pieces used for searing or sugary sauces need a salt scrub every few uses, while delicate pans need only occasional wiping — see the comparison table above for specifics.
Why does my pan smell or taste metallic after a burn?
A metallic taste usually means the seasoning layer has thinned enough to expose bare iron to acidic or watery food. A light re-season on the affected area typically resolves it.
Is a dark, uneven finish after cleaning something to worry about?
Not on its own. Cast iron rarely looks perfectly uniform, especially after spot re-seasoning. What matters is a smooth, dry feel and no flaking, not perfectly even color.
Can I speed up drying with a towel instead of the stove?
A towel removes surface water but not moisture trapped in pores and around rivets. A couple of minutes on a low burner finishes the job and prevents the flash rust a towel alone can miss.
Do enameled pieces in a cast iron cookware set need the same cleaning?
No. Enameled cast iron should be cleaned with mild soap and a non-abrasive sponge — salt scrubs and vinegar soaks are for bare, seasoned cast iron only.