English
 中文简体
中文简体
 日本語
日本語
 Español
Content
- 1 The Direct Answer: How to Cook Steak on a Stainless Steel Pan
- 2 Why Steak and Stainless Steel Are a Natural Pair
- 3 Start With the Right Steak and the Right Pan
- 4 Preheat the Pan Properly: The Water Drop Test
- 5 Choose the Right Oil for the Sear
- 6 Seasoning: Salt Early, Pepper Last
- 7 The Searing Sequence: Timing by Thickness
- 8 Finish With a Butter Baste for Flavor and Gloss
- 9 Rest, Slice, and Build a Minute Pan Sauce
- 10 Five Mistakes That Ruin Steaks in a Stainless Pan
- 11 How to Clean the Pan After Searing
- 12 When a Non-Stick Steak Pan Is the Better Call
- 13 Frequently Asked Questions
- 13.1 Why does my steak always stick to a stainless steel pan?
- 13.2 What temperature should a stainless steel pan be for searing steak?
- 13.3 Butter or oil for cooking a steak in stainless steel?
- 13.4 How long do I cook a steak per side for medium-rare?
- 13.5 Can I cook a frozen steak in a stainless steel pan?
- 13.6 Why is my steak grey in the middle with a dark band?
- 13.7 Cast iron or stainless steel for steak?
- 13.8 Do I need a ribbed grill pan for steak?
- 14 The Bottom Line
The Direct Answer: How to Cook Steak on a Stainless Steel Pan
If you want the result before the explanation: pat a 2.5 cm thick steak completely dry, season it with salt, and preheat an empty stainless steel pan on medium-high for 3 to 5 minutes. When a few drops of water bead up and skitter across the surface like tiny glass marbles, the pan is ready. Add a thin layer of oil with a smoke point above 200°C, lay the steak in the pan moving away from your body, and sear it for 3 to 4 minutes per side without touching it. During the last 60 to 90 seconds, add 20 to 30 g of butter, a smashed garlic clove, and a sprig of thyme, then tilt the pan and spoon the butter over the steak. Rest it uncovered on a wire rack for 5 to 10 minutes, slice against the grain, and serve.
Every step in that sequence exists for a reason. The rest of this guide explains the exact pan temperature, which oils to use and which to avoid, how to time each side by thickness, the internal temperature targets from rare to well-done, how to build a fond into a pan sauce, how to clean the pan afterward, and when you should put the stainless steel pan away and reach for a non-stick steak pan instead.
Why Steak and Stainless Steel Are a Natural Pair
A stainless steel pan is the best everyday pan for a strong crust. The browning you want on a steak comes from the Maillard reaction, which starts when the meat surface reaches roughly 140°C to 170°C. Stainless steel transfers heat directly into the protein with no coating in between, so that reaction begins quickly and evenly across the entire contact area. The result is a dark, crisp, deeply savory crust that a non-stick surface simply cannot reproduce.
There is a second benefit that matters just as much: the fond. The brown residue left on the steel after searing is concentrated flavor. When you deglaze the pan with wine, stock, or even water, that fond becomes the base of a pan sauce. Non-stick pans produce almost no fond because proteins never stick long enough to build it. If you want the sauce, you need the steel.
Stainless steel also handles abuse gracefully. There is no seasoning to maintain, no coating that can flake off, and no upper temperature limit for normal stovetop cooking. With a thick aluminum or copper core, a stainless pan holds enough heat that the surface temperature does not collapse the moment the steak lands. That temperature recovery is one of the least talked about but most important factors in an even, restaurant-style crust.
Start With the Right Steak and the Right Pan
Technique matters, but the starting materials matter just as much. A stainless steel pan rewards a steak that is thick enough to form a crust before the interior overcooks.
The Cuts That Perform Best
- Ribeye: heavy marbling makes it the most forgiving cut. It stays juicy even if you miss your target temperature by a degree or two. Look for 2.5 to 3 cm thickness.
- New York strip (strip loin): a balanced cut with moderate marbling and a firm bite. It sears beautifully and is the best all-round choice for this method.
- Sirloin: leaner and more affordable. It works well if you keep the heat steady and baste generously with butter.
- Beef tenderloin (filet mignon): buttery and tender but low in fat. It needs a confident sear and a heavy baste so it does not taste lean.
The most useful rule is thickness. Anything under 2 cm cooks through before a proper crust forms in a stainless pan. Aim for at least 2.5 cm, and prefer 3 to 4 cm if you can. Bone-in steaks cook 1 to 2 minutes slower per side because the bone conducts heat differently.
Pan Size and Heat-Source Compatibility
Choose a pan that matches how many steaks you cook. A 26 to 28 cm pan handles one or two steaks comfortably. If the steaks touch each other or the pan walls, the surface steams instead of searing, and the temperature drops sharply. Cook in batches rather than crowding the pan.
On an induction hob, the pan base must be flat and magnetic. Not every stainless pan distributes heat the same way; the base design is what separates a pan that sears evenly from one that develops hot spots. This explainer on how the base design of a pan affects heat distribution and cooking efficiency is worth reading before you buy anything.
On gas, keep the flame smaller than the pan base. Flames that curl up the side walls overheat the handle, waste energy, and add nothing to the cooking surface.
Preheat the Pan Properly: The Water Drop Test
Preheating is the step that most people skip, and it is the step that causes the majority of sticking. Put the empty pan on medium-high heat and wait 3 to 5 minutes. The surface needs to reach roughly 190°C to 200°C, the zone where the Leidenfrost effect appears.
Test it with water. Flick a few drops onto the dry surface. If the drops sit and simmer quietly, the pan is not hot enough. If they evaporate instantly into steam, the pan is still under target. The moment the drops gather into a single rolling bead and skate across the steel without wetting it, the pan is ready. That dancing bead is your cue to add the oil.
Why does preheating matter so much? When a cold pan touches the meat, the muscle proteins bond with the steel and tear when you try to flip. When the surface is hot enough, the proteins sear and release quickly. A well-preheated pan also stays hot after the steak lands, so the crust forms instead of the meat steaming in its own juices.
Do not crank the burner to maximum as a shortcut. Very high heat burns the outside of the steak long before the center comes up to temperature. Medium-high is the right range for almost every stove.
Choose the Right Oil for the Sear
Add the oil only after the pan passes the water test. A thin, even coating is all you need, and the oil should shimmer across the bottom before the steak goes in. The oil acts as a heat bridge between the steel and the meat, but it does not need to be a pool.
| Oil | Smoke Point °C (°F) | Best Use |
|---|---|---|
| Avocado oil | 271 (520) | Searing at high heat |
| Ghee (clarified butter) | 252 (485) | Searing and basting |
| Refined olive oil | 240 (465) | Searing and pan finishing |
| Grapeseed oil | 216 (421) | Everyday searing |
| Vegetable or canola oil | 204 (400) | Everyday searing |
| Extra-virgin olive oil | 190 (375) | Finishing, not searing |
| Unsalted butter | 150 (302) | Basting only, final minute |
Butter is a flavor ingredient, not a searing fat. It burns at 150°C, well below the temperature needed for a good crust. Use a high-smoke-point oil for the sear and bring the butter in during the final minute for basting.
Seasoning: Salt Early, Pepper Last
Start with the surface. The single biggest mistake in home kitchens is putting a wet steak into a hot pan. Moisture has to evaporate before browning can begin, so a damp surface gives you a grey, boiled result instead of a crust. Pat the steak dry on both sides with paper towels, including the edges.
Salt generously with fine sea salt or kosher salt. Two practical windows work best: salt 40 minutes or more before cooking so the salt penetrates into the muscle, or salt immediately before the pan so it dissolves on the surface. What you want to avoid is salting 10 to 20 minutes ahead, the window where salt draws moisture out of the meat and leaves the surface wet exactly when you need it dry.
Add black pepper after the sear. Ground pepper scorches quickly at 200°C, and burnt pepper tastes bitter. Season the cooked steak with cracked pepper while it rests, and you get the aroma without the acrid edge. Skip the marinade for your first few attempts; a properly executed sear delivers more flavor than any rub.
The Searing Sequence: Timing by Thickness
Lay the steak into the pan moving away from your body so hot oil cannot splash toward you. Press it down gently with tongs or a spatula for 5 seconds so the full surface makes contact. Then leave it alone. Two to 4 minutes passes quickly; resist the urge to peek or shift the steak. When the crust has set, the steak will release from the steel by itself. If it fights you when you nudge it, give it another 30 to 60 seconds.
After the flip, take the temperature through the side of the steak with an instant-read thermometer so the probe reaches the center. Remember that the steak continues to cook while it rests, so pull it a few degrees below your target.
| Steak Thickness | Time per Side | Pan Method | Oven Finish |
|---|---|---|---|
| 2 cm (0.8 in) | 2.5 to 3 min | Targets medium-rare | Not needed |
| 2.5 cm (1 in) | 3 to 4 min | Targets medium-rare | Not needed |
| 3 cm (1.2 in) | 4 to 4.5 min | Targets medium-rare | 2 min at 190°C if needed |
| 4 cm (1.6 in) | 2 min per side | Sear only, then transfer | 5 to 8 min at 190°C |
| Doneness | Pull Off Heat At | After Rest |
|---|---|---|
| Rare | 49 to 52°C | 52 to 54°C |
| Medium-rare | 52 to 54°C | 55 to 57°C |
| Medium | 57 to 60°C | 60 to 63°C |
| Medium-well | 63 to 65°C | 65 to 68°C |
| Well done | 68 to 70°C | 70 to 73°C |
For steaks thicker than 4 cm, searing alone will not finish the job. Sear for 2 minutes per side, then transfer the pan to a 190°C oven for 5 to 8 minutes, checking the internal temperature at the 5-minute mark. This combination of a hard sear plus a gentle oven finish gives you an even gradient from dark crust to blush-pink center.
Finish With a Butter Baste for Flavor and Gloss
Basting does two things that matter: it adds flavor, and it helps the top of the steak cook at a faster rate than the interior. During the last 60 to 90 seconds of cooking, drop the heat to medium and add 20 to 30 g of unsalted butter, one or two smashed garlic cloves, and a sprig of thyme or rosemary.
Tilt the pan so the butter pools on one side, then spoon it continuously over the top of the steak. Each spoonful deposits a thin, nutty, garlic-scented layer that builds a glossy crust and keeps the leaner side of the steak from drying out.
Watch the butter, not just the steak. When it passes the foaming stage and turns dark brown with a burnt smell, it becomes bitter. If you see heavy smoke, lift the pan off the heat for a few seconds, then continue. The goal is a deep brown butter, not a burnt one.
Rest, Slice, and Build a Minute Pan Sauce
Rest the steak on a wire rack so air circulates underneath and the crust stays crisp. Five minutes is the minimum for a 2.5 cm steak; 10 minutes for a thick 4 cm steak. During the rest, the juices redistribute through the muscle instead of spilling onto the cutting board the moment you slice.
Carryover cooking adds another 2°C to 4°C while the steak rests, so pull it off the heat when the thermometer reads about 3°C below your target. A medium-rare steak you want at 55°C to 57°C should leave the pan around 52°C to 54°C.
Slice against the grain: look at the direction of the muscle fibers, turn the knife 90 degrees, and cut perpendicular to them. This shortens the fibers and makes every bite noticeably more tender. To use all that fond in the pan, pour off the excess fat, add a minced shallot and a splash of red wine or beef stock, reduce by half, then swirl in a knob of cold butter off the heat.
Five Mistakes That Ruin Steaks in a Stainless Pan
Most disappointing steaks come from a handful of repeatable errors. Here they are, the physics behind them, and the fix for each one.
| Mistake | What Goes Wrong | The Fix |
|---|---|---|
| Pan not hot enough | Steak sticks, grey color, no crust | Preheat 3 to 5 min and pass the water test |
| Moving the steak too early | Torn surface, lost juices | Wait until the steak releases itself |
| Overcrowding the pan | Temperature drops, meat steams | Sear in batches, leave space between steaks |
| Heat set too high | Burnt exterior, raw center | Use medium-high heat, finish thick cuts in the oven |
| Skipping the rest | Juice runs onto the plate | Rest 5 to 10 min on a wire rack |
How to Clean the Pan After Searing
- Let the pan cool for a minute, then pour off the excess fat into a heat-safe container.
- Add a few centimeters of hot water and return the pan to low heat. The fond lifts easily once the water simmers; scrape it with a wooden spoon.
- For stubborn residue, mix baking soda with a little water into a paste, apply it to the cooled surface, wait 5 minutes, and scrub with a soft sponge.
- Rinse, dry with a towel, then heat the pan on the stove for 1 minute and wipe it with a single drop of neutral oil to keep the finish bright.
A stainless steel pan does not need babying, but 30 seconds of cleanup immediately after cooking beats 30 minutes of scrubbing later. Hand-washing is the best way to prevent water spots, and the final oil wipe keeps the surface looking like new between uses.
When a Non-Stick Steak Pan Is the Better Call
There are situations where stainless steel is the wrong tool. Thin steaks under 1.5 cm, minute steaks, and stir-fried beef strips all cook too fast for the preheat-and-sear method; in a stainless pan they stick, overcook, and shred. If you cook those regularly, a non-stick pan removes the entire learning curve. The same applies to cooks who want a crust with very little oil, or who prefer a pan that rinses clean in 10 seconds. The choice is not about which is objectively better; it is about which fits the cooking job.
One common worry with non-stick is durability, so it helps to read about how durable modern non-stick coatings are before you decide. Quality non-stick pans are far tougher than the easily scratched coatings of the past, especially when you use wooden or silicone utensils.
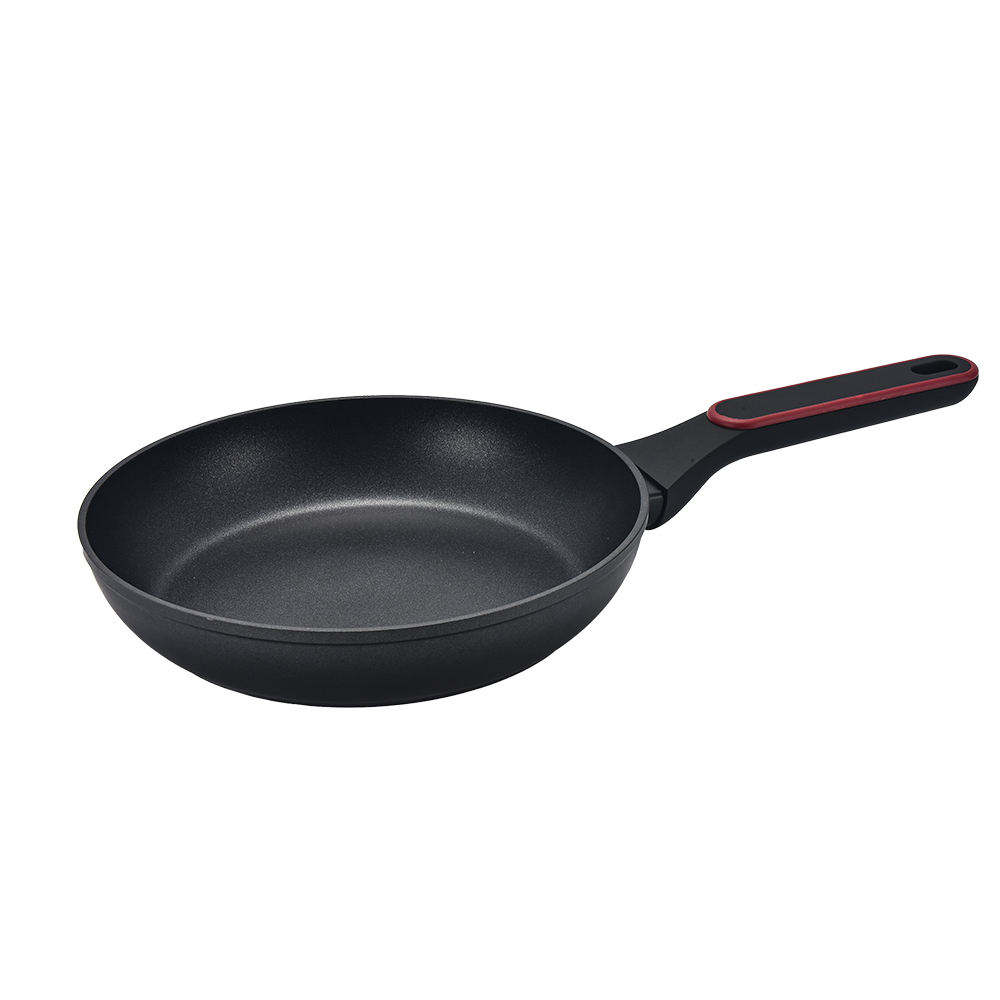
For everyday thin-cut steaks, chicken cutlets, and seared fish, a purpose-built non-stick steak frying pan with an induction-compatible base lets you cook at a relaxed pace without sticking. It is the pragmatic companion to your stainless steel pan, not a replacement for it.
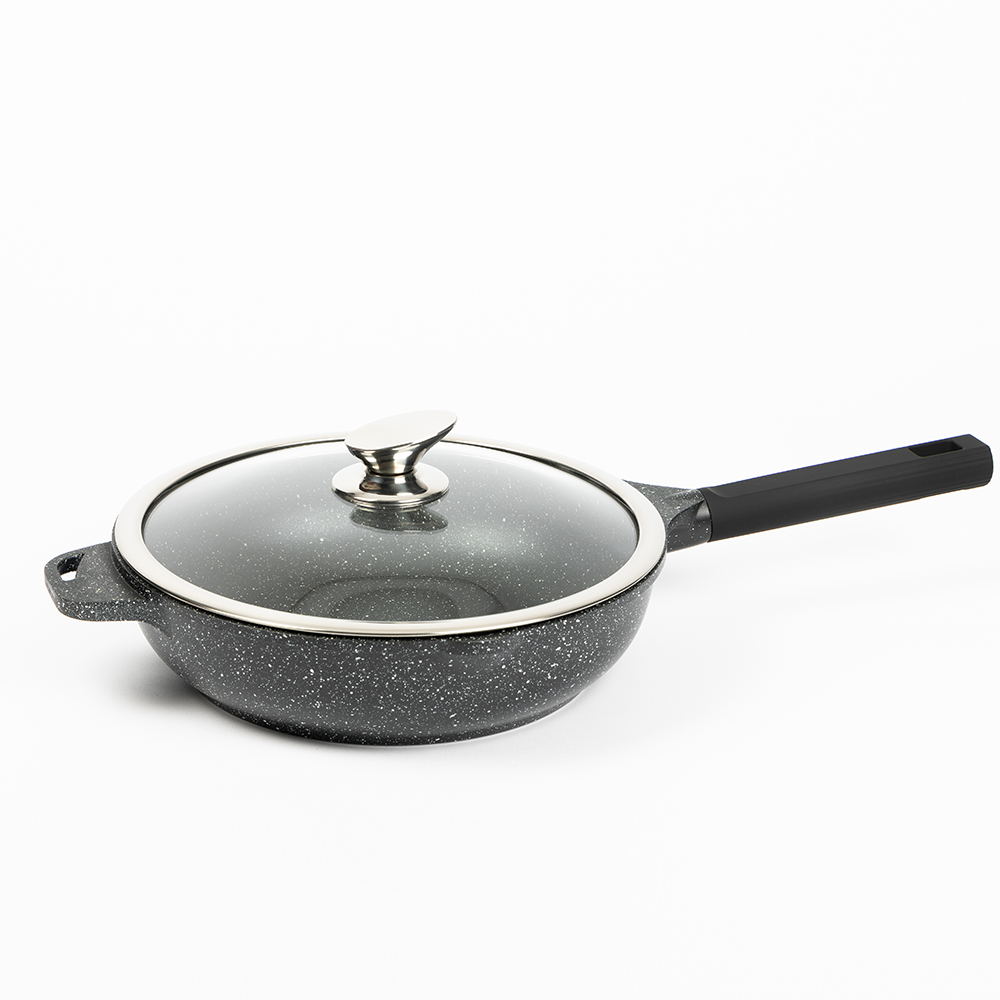
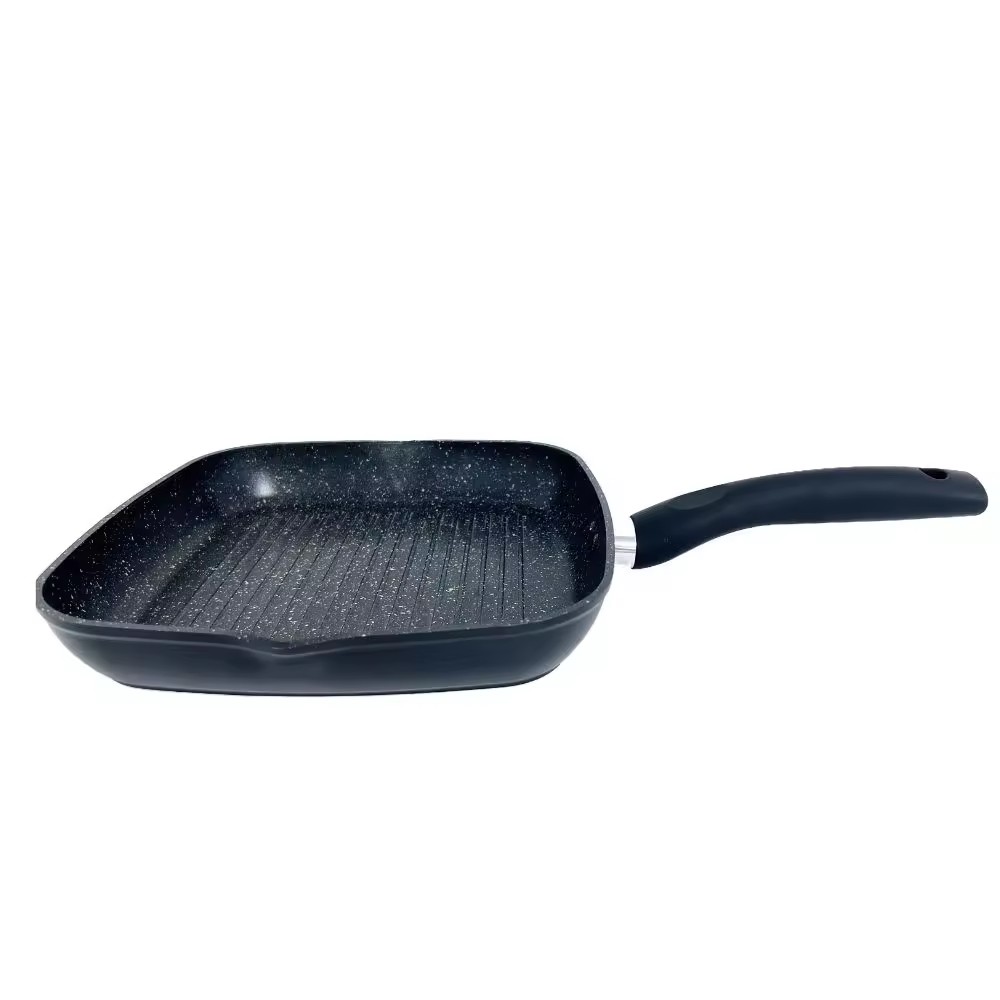 Non Stick Steak Frying Pan For Breakfast Nonstick Square Induction Bottom Fry PaNingbo Leer Kitchenware Co., Ltd is China Non Stick Steak Frying Pan For Breakfast Nonstick Square Induction Bottom Fry Pan For Beef Chic...View Product →
Frequently Asked Questions
Why does my steak always stick to a stainless steel pan?
Sticking is almost always a temperature problem. The pan surface was not hot enough when the steak went in, or the steak was moved too early. Preheat for 3 to 5 minutes, pass the water drop test, and wait until the steak releases on its own. If it does not release after 4 minutes, the heat is probably too low.
What temperature should a stainless steel pan be for searing steak?
Around 190°C to 200°C on the surface, which corresponds to medium-high on most stoves. That is the temperature at which the Leidenfrost water-bead test works and the Maillard reaction happens quickly. Below 170°C the steak steams; above 230°C the fat and butter burn.
Butter or oil for cooking a steak in stainless steel?
Oil for the sear, butter for the baste. Use a neutral oil with a smoke point of at least 200°C, such as avocado, refined olive, canola, or grapeseed, to build the crust. Add butter in the final minute, once the crust already exists, and use the spooning motion to flavor the top of the steak.
How long do I cook a steak per side for medium-rare?
For a 2.5 cm steak, 3 to 4 minutes per side. For a 2 cm steak, 2.5 to 3 minutes. For a 3 cm steak, 4 to 4.5 minutes per side. These times assume a properly preheated pan at medium-high heat. Confirm with a thermometer: pull the steak at 52°C to 54°C and let it rest to 55°C to 57°C.
Can I cook a frozen steak in a stainless steel pan?
You can, but it is the hardest way to do it. The outside overcooks before the frozen center thaws, and the temperature shock causes aggressive sticking. A reverse sear is better: thaw in the refrigerator, pat dry, cook low and slow in the oven, then finish with a 90-second sear on each side in the preheated pan.
Why is my steak grey in the middle with a dark band?
That grey band forms when the heat is too low for too long, or when the steak is flipped repeatedly while the interior slowly climbs to temperature. Fix it with a hotter pan surface, a thicker cut, and a shorter total cooking window. The steak should go from raw to resting in about 8 to 10 minutes.
Cast iron or stainless steel for steak?
Both produce an excellent crust. Cast iron holds more thermal mass, which helps with very thick or multiple steaks, but it is heavy and requires seasoning. Stainless steel is lighter, needs no maintenance, deglazes easily for a pan sauce, and lets you see the fond so you can control it. For most home cooks, stainless steel is the more flexible daily choice.
Do I need a ribbed grill pan for steak?
No. A flat stainless steel pan delivers more surface contact, a more even crust, and more fond for a sauce. Ribbed pans exist for the look of grill marks and for draining rendered fat. If you prefer that finish indoors with easy cleanup, a marble-coated steak grill pan that works on induction cookers is the practical choice. Just expect a lighter crust because less of the steak touches the surface.
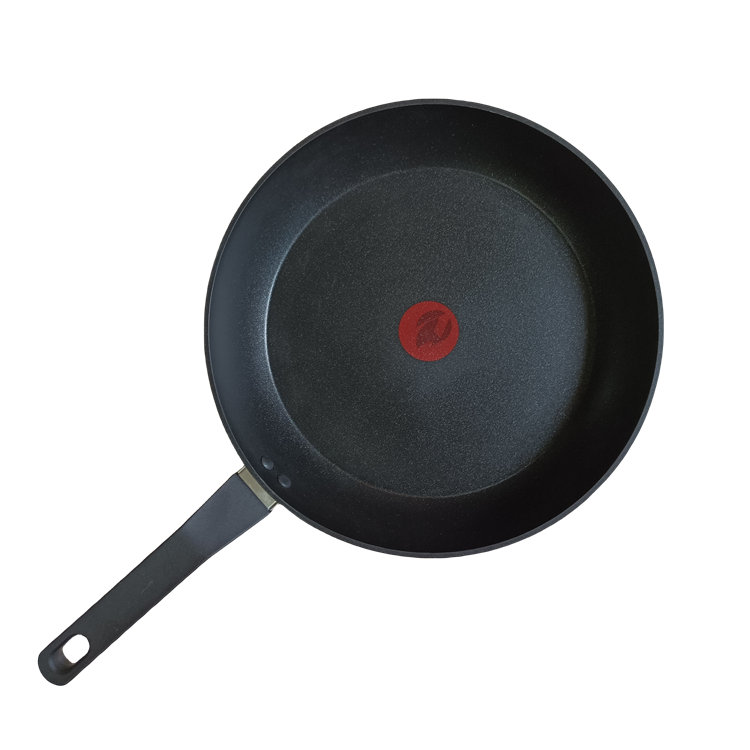
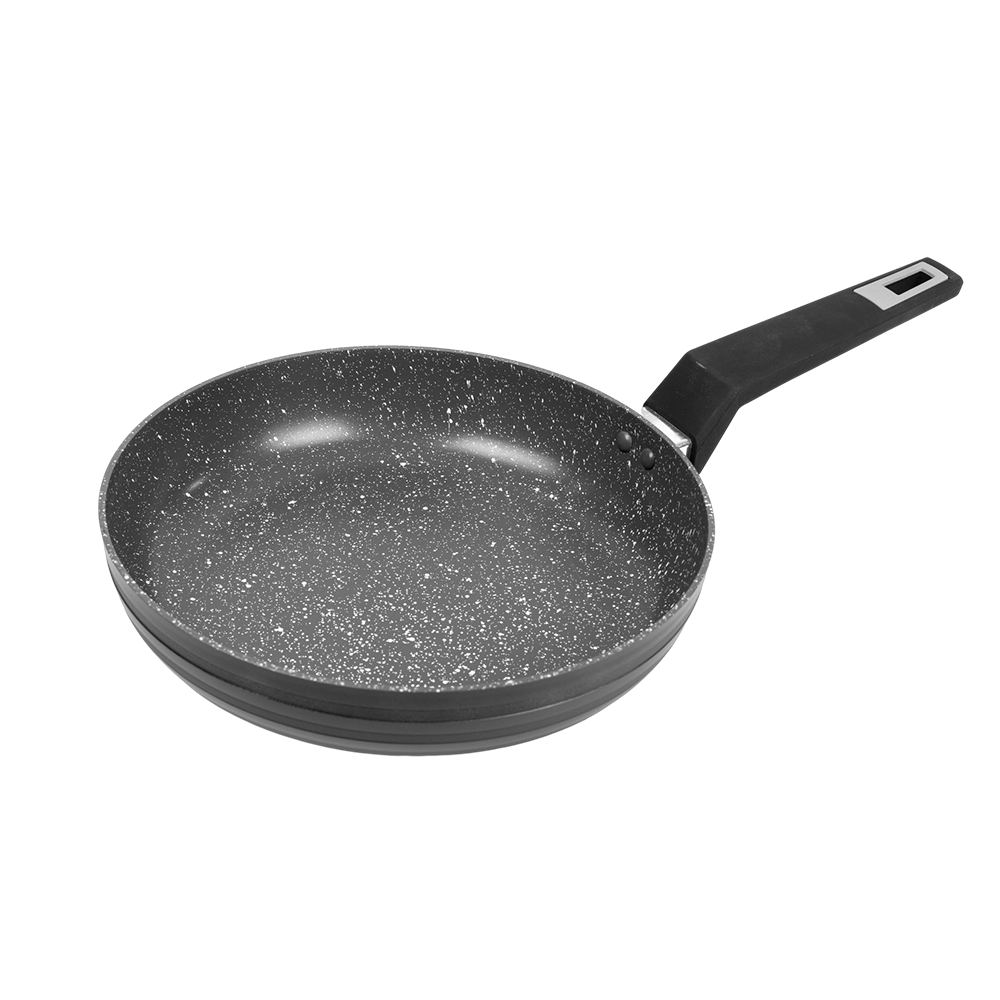
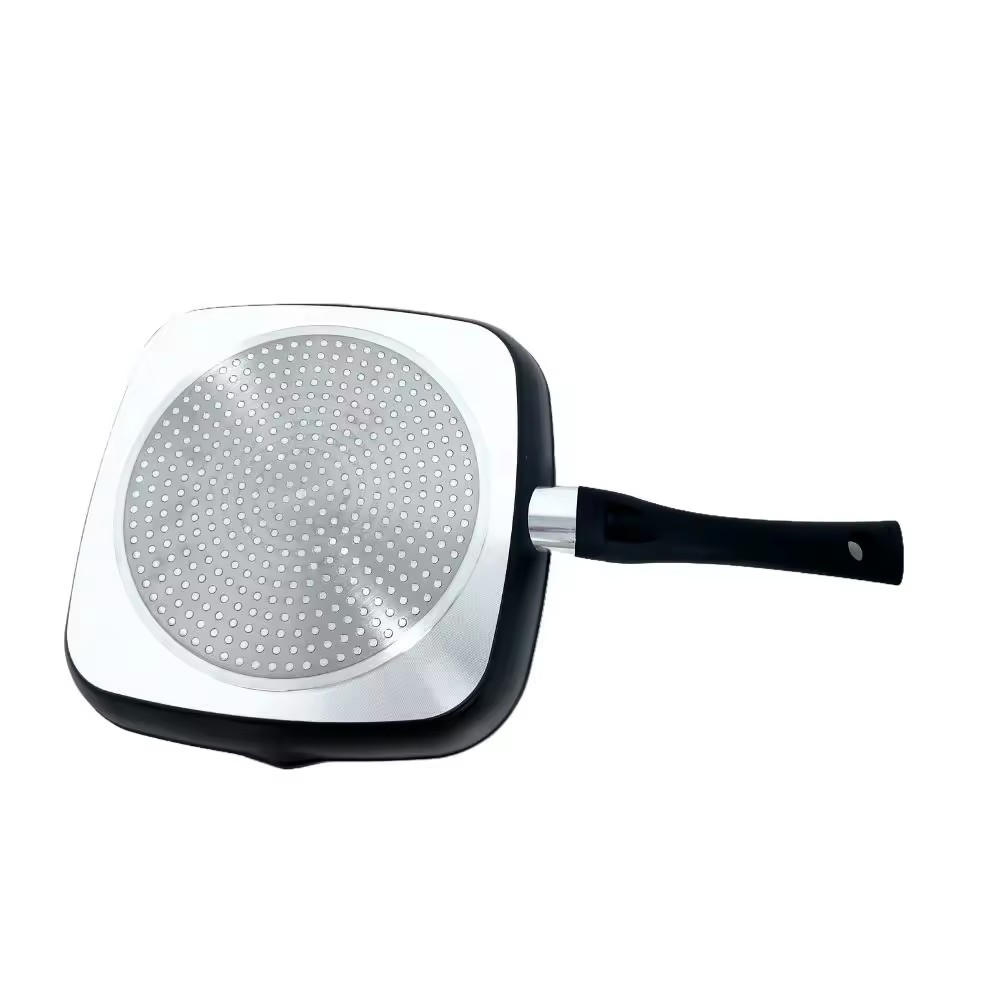 Aluminum Nonstick Marble Coating Grill Pan With Induction Cooker Beef Frypan SteNingbo Leer Kitchenware Co., Ltd is China Aluminum Nonstick Marble Coating Grill Pan With Induction Cooker Beef Frypan Steak Frying Pan s...View Product →
The Bottom Line
Cook a great steak in a stainless steel pan by controlling four numbers: a pan surface around 190°C to 200°C, a steak at least 2.5 cm thick, 3 to 4 minutes of undisturbed searing per side, and a resting time of 5 to 10 minutes. Master that sequence and you can repeat it with any cut, any thickness, and any stove.
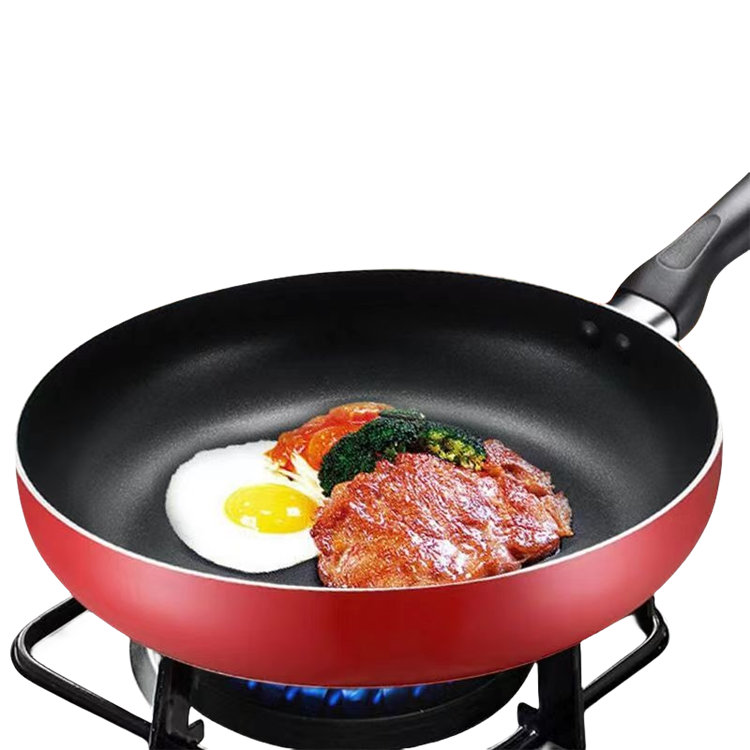
The method works on gas and on induction alike. And when time is short, the pan you reach for matters more than technique: a food-grade non-stick steak frying pan that also handles eggs and pancakes gets you a clean sear with zero sticking and a 30-second cleanup.
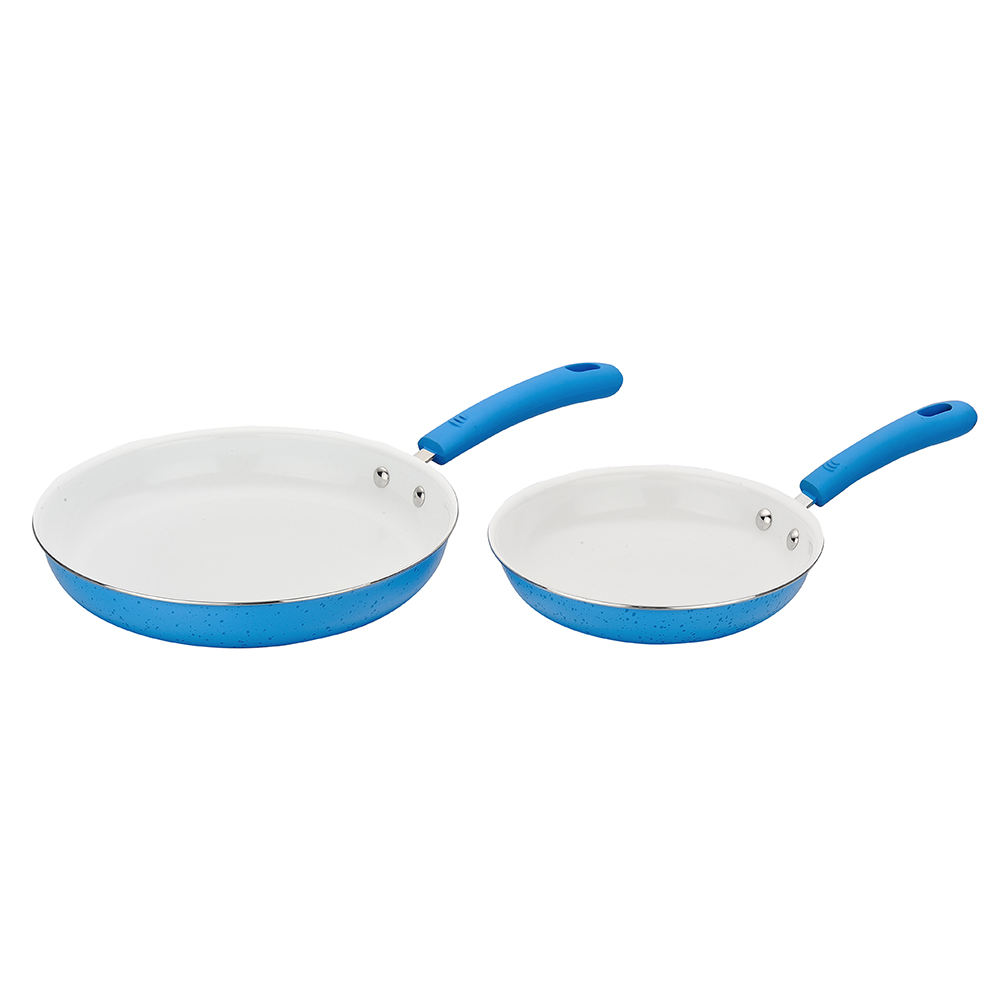
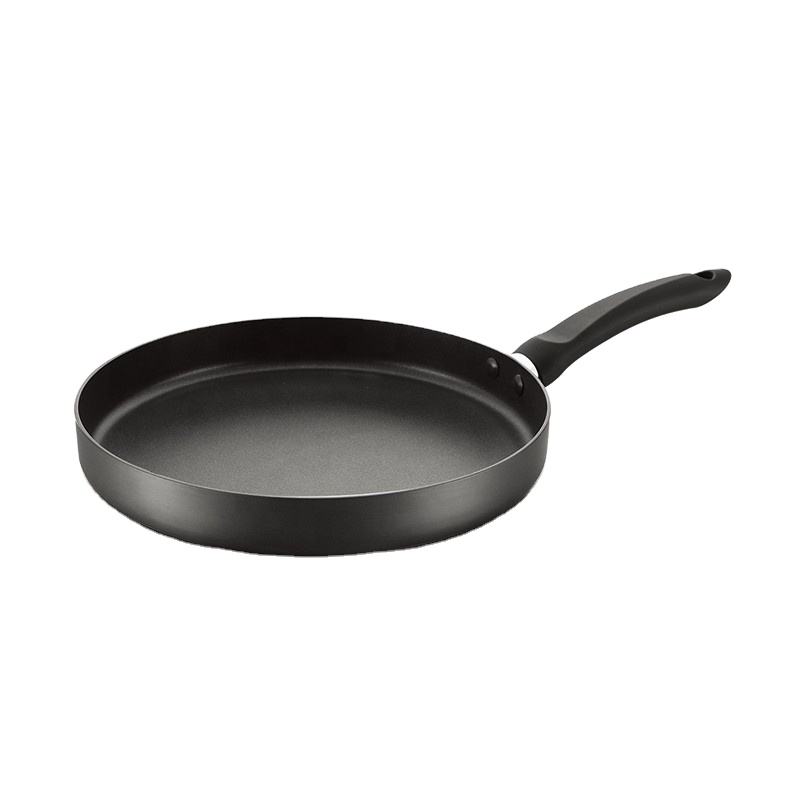
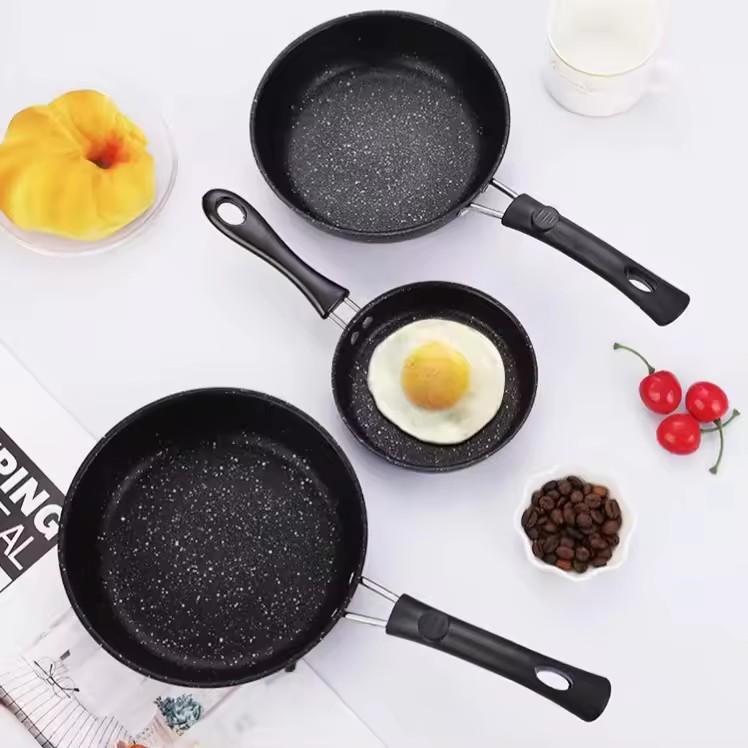 Food grade non stick pancake steak frying pan household induction cooker gas stoNingbo Leer Kitchenware Co., Ltd is China Food grade non stick pancake steak frying pan household induction cooker gas stove egg frying p...View Product →
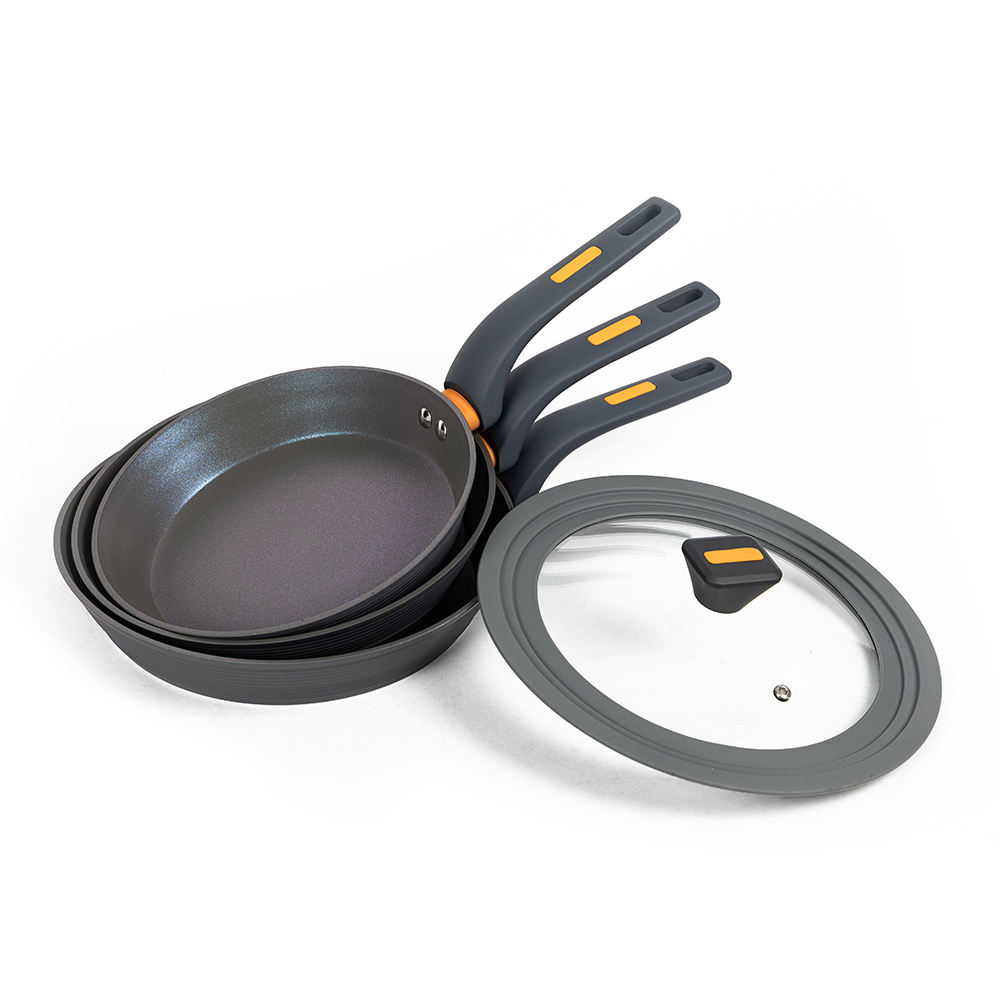
Once you have the method down, think about how your pans work as a system. This look at how a well-planned cookware set improves the whole cooking experience explains why two or three complementary pans beat a rack full of single-purpose ones.
The best steak you can make at home does not require a grill, a torch, or a niche pan. It requires a hot, dry stainless steel surface, a well-seasoned piece of meat, and the patience to leave it alone until the crust forms. Do those three things and the rest takes care of itself.