English
 中文简体
中文简体
 日本語
日本語
 Español
Content
- 1 The Short Answer: How to Clean Made-In Stainless Steel Pans
- 2 Why Stainless Steel Pans Get Dirty Differently Than Other Cookware
- 3 Everyday Cleaning: What to Do After Each Use
- 4 How to Remove Stubborn Stuck-On Food From Stainless Steel Pots and Pans
- 5 Removing Rainbow Discoloration (Heat Tint) From Stainless Steel
- 6 How to Deal With White Calcium and Mineral Deposits
- 7 Cleaning the Exterior of Made-In Stainless Steel Pots and Pans
- 8 Cleaning by Problem Type: Quick Reference
- 9 What You Should Never Use on Made-In Stainless Steel
- 10 Polishing and Restoring the Shine on Your Stainless Steel Pans
- 11 Preventing Messes Before They Start: Cooking Tips That Make Cleaning Easier
- 12 How to Store Made-In Stainless Steel Pots and Pans Without Causing Damage
- 13 Frequently Asked Questions About Cleaning Stainless Steel Cookware
- 13.1 Can I use a Scotch-Brite pad on Made-In stainless steel?
- 13.2 Why does my stainless steel pan have rust spots?
- 13.3 Is it safe to cook in a discolored stainless steel pan?
- 13.4 How often should I do a deep clean on my stainless steel pots and pans?
- 13.5 Does Made-In have a warranty that covers cleaning damage?
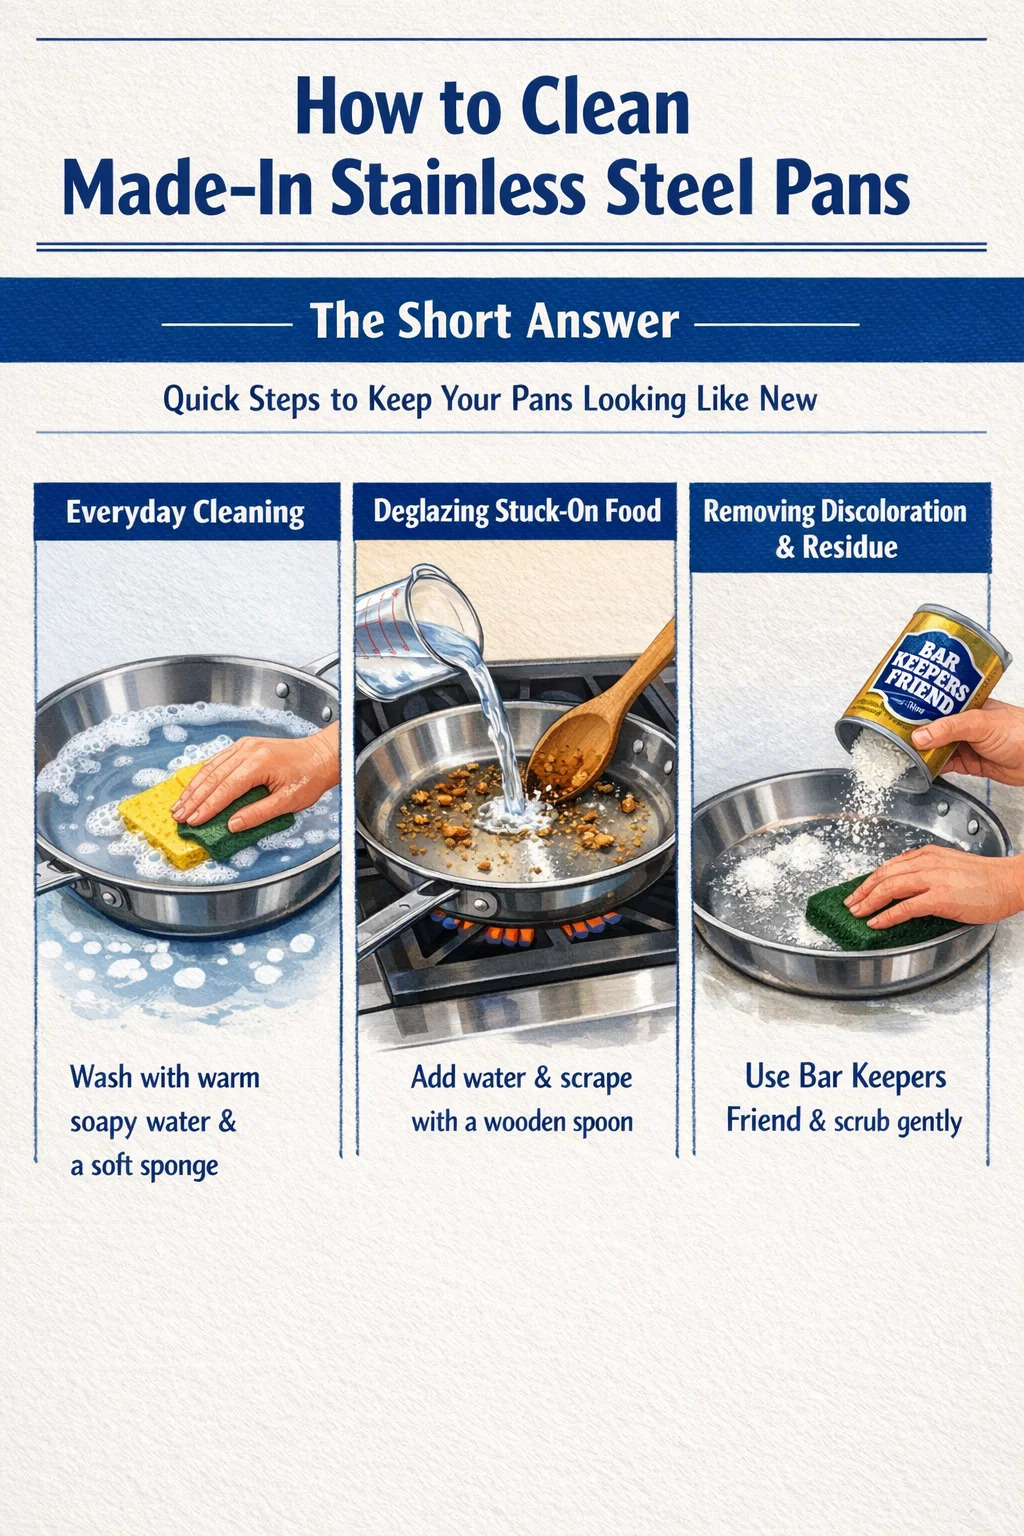
The Short Answer: How to Clean Made-In Stainless Steel Pans
For everyday cleaning, wash your Made-In stainless steel pan with warm soapy water and a soft sponge immediately after it cools down. For stuck-on food, deglaze the pan while still warm by adding water and scraping with a wooden spoon. For discoloration or stubborn residue, use a paste of Bar Keepers Friend and water, scrub gently, and rinse thoroughly. That covers 95% of what you'll ever face with these pans.
Made-In stainless steel cookware is built with a 5-ply clad construction — typically two layers of stainless steel bonded around an aluminum and copper core — which makes it highly durable and resistant to warping. But stainless steel is not non-stick, and if you don't know how to clean it properly, you'll end up with rainbow stains, white calcium deposits, or dark burn marks that make your pots and pans look ruined when they're actually perfectly salvageable.
This guide walks through every type of mess you'll realistically encounter and exactly what to do about each one.
Why Stainless Steel Pans Get Dirty Differently Than Other Cookware
Before diving into cleaning techniques, it helps to understand what's actually happening on the surface of your pan. Stainless steel gets its name from its resistance to rust and corrosion, thanks to a chromium oxide layer that forms on the surface. This layer is self-healing — scratch it lightly and it rebuilds — but it can be compromised by harsh abrasives, chlorine, or prolonged contact with acidic foods.
Unlike cast iron or carbon steel, stainless steel pans are not seasoned, meaning there's no protective oil layer between your food and the metal. This is why food sticks more readily, and why the visual marks left behind can look alarming even when they're just cosmetic. The most common issues with Made-In stainless steel pots and pans include:
- Heat tint (rainbow discoloration) — caused by overheating the pan, which oxidizes the chromium layer and produces blue, gold, or purple hues
- White or chalky residue — mineral deposits from hard water, especially after boiling water or pasta
- Brown or black scorching — polymerized oils or burnt food residue that bonds to the surface at high heat
- Pitting — small craters caused by salt added to cold water before it boils, or prolonged exposure to acidic foods
- Stuck-on protein or starch — eggs, meat fond, and pasta residue that cling to the pan when it wasn't hot enough before the food was added
Each of these requires a slightly different approach, and using the wrong method — like steel wool on heat tint — can actually cause more damage than the original stain.
Everyday Cleaning: What to Do After Each Use
The single most important rule for cleaning Made-In stainless steel pans is never plunge a hot pan into cold water. The rapid temperature change — known as thermal shock — can warp the pan's base, and because Made-In pans use a bonded multi-ply construction, a warped base can delaminate over time. Always let your pan cool to near room temperature before cleaning.
Basic Wash Routine
- Allow the pan to cool completely — this usually takes 10 to 15 minutes after cooking
- Rinse with warm water to loosen any surface residue
- Add a few drops of dish soap and use a non-scratch sponge or soft cloth to scrub the interior
- Pay extra attention to the rim and the exterior base, where grease tends to accumulate and bake on over multiple uses
- Rinse thoroughly with warm water and dry immediately with a clean towel to prevent water spots
Made-In states that their stainless steel pots and pans are technically dishwasher safe, but hand washing is strongly recommended. Dishwashers use high-alkaline detergents and high heat that can gradually dull the finish and leave white deposits on the surface. Over dozens of cycles, you'll notice the interior losing its polished appearance.
Handling Light Stuck-On Food While the Pan Is Still Warm
If you notice food sticking as you plate your meal, take advantage of the residual heat. Add about half a cup of water to the pan while it's still warm (not blazing hot) and let it sit for 2 to 3 minutes. The steam and moisture will release most of the stuck bits. Then use a wooden spoon or silicone spatula to scrape the surface and pour out the loosened residue before washing normally. This technique — essentially deglazing for cleaning purposes — works well for proteins, caramelized vegetables, and pan sauces gone wrong.
How to Remove Stubborn Stuck-On Food From Stainless Steel Pots and Pans
Sometimes a quick soak isn't enough. If food has been left to dry in the pan, or if it was cooked at very high heat, you'll need a more targeted approach.
The Boiling Water Method
Fill the pan with enough water to cover all the stuck-on residue, then bring it to a boil on the stovetop. Add a tablespoon of dish soap or baking soda to the water. Let it boil for 5 to 10 minutes. The combination of heat, moisture, and mild alkalinity will soften even firmly bonded food residue. Once cool, most stuck material will wipe away with a soft sponge without any aggressive scrubbing.
Baking Soda Paste for Tough Residue
For baked-on residue that resists the boiling method, mix baking soda with just enough water to form a thick paste. Apply it to the affected area and let it sit for 15 to 20 minutes. Baking soda is mildly abrasive (around 2.5 on the Mohs hardness scale, compared to stainless steel at around 5.5 to 6.5), which means it can physically lift residue without scratching the surface. Scrub with a non-scratch pad using circular motions, then rinse clean.
Bar Keepers Friend: The Go-To Product for Stainless Steel
Bar Keepers Friend (BKF) is widely considered the best commercial cleaner for stainless steel cookware, and it's explicitly recommended by Made-In for their pans. Its active ingredient is oxalic acid, which dissolves rust, mineral deposits, and discoloration without harming the chromium oxide layer that protects the surface. Here's how to use it correctly:
- Wet the pan surface with water
- Sprinkle a small amount of BKF powder directly onto the wet surface, or make a paste with the BKF Soft Cleanser version
- Scrub gently with a damp non-scratch sponge, moving with the grain of the steel (usually in one direction along the brushed finish)
- Let it sit for no more than 60 seconds — BKF is acidic and prolonged contact can affect the finish
- Rinse thoroughly with warm water and dry immediately
Do not use BKF on the exterior of the pan more than necessary, as repeated use on decorative surfaces can dull them over time.
Removing Rainbow Discoloration (Heat Tint) From Stainless Steel
Rainbow staining — those blue, gold, or purple swirls you sometimes see on the interior of a stainless steel pan — is one of the most common cosmetic concerns with high-heat cooking. It's caused by the oxidation of the chromium layer when the pan is heated above approximately 400°F (204°C) without food or oil to absorb that heat. Empty pan preheat is the number one culprit.
The good news is that heat tint is entirely cosmetic and does not affect the performance or safety of the pan. The even better news is that it's easy to remove.
White Vinegar Method
Pour enough undiluted white vinegar into the pan to cover the discolored area. Let it sit for 5 to 10 minutes. Vinegar's acetic acid dissolves the oxidized layer responsible for the discoloration. Wipe the area with a soft cloth or sponge, rinse well, and dry. In most cases, the rainbow staining will be completely gone in one treatment. For stubborn tint, you can gently warm the vinegar in the pan first (do not boil) to accelerate the reaction.
Bar Keepers Friend for Heat Tint
BKF is also effective on heat tint, especially if the discoloration is more severe or has been left untreated for a long time. Use the method described above, and the oxalic acid will break down the oxide layer just as it does with rust and mineral deposits. After treatment, the interior of the pan should return to its original brushed silver appearance.
How to Deal With White Calcium and Mineral Deposits
If you live in an area with hard water — which affects roughly 85% of homes in the United States — you've probably noticed white or chalky spots forming on your stainless steel pots and pans after boiling water or cooking pasta. These are calcium and magnesium mineral deposits left behind as water evaporates. They're completely harmless but can look unsightly and dull the finish over time if left to accumulate.
Vinegar Soak
Fill the pan with a solution of one part white vinegar to three parts water. Bring it to a gentle simmer for 5 minutes, then turn off the heat and let it cool. The acidity dissolves calcium carbonate deposits effectively. Once cool, empty the pan, rinse thoroughly, and wash as normal. This method also works well for the interior of stockpots where mineral buildup can form a visible ring along the water line.
Lemon Juice for Surface Spots
For light water spots on the interior or exterior of a pan, cut a lemon in half and rub it directly over the affected area. The citric acid reacts with calcium deposits and lifts them from the surface. Let it sit for 2 to 3 minutes, then rinse clean. This is a gentle, residue-free option that works well as a finishing step after washing to bring back the shine on the exterior of your pots and pans.
Cleaning the Exterior of Made-In Stainless Steel Pots and Pans
The exterior of stainless steel cookware gets overlooked far more often than the interior, but it takes the brunt of burner heat, drips, and grease splatters. Over time, a layer of polymerized oil and carbonized food builds up on the outside of pans — particularly on the base and lower sides — that becomes progressively harder to remove the longer it's left.
Routine Exterior Cleaning
After every use, wipe down the exterior with a damp soapy cloth before the grease has a chance to bake on. Pay particular attention to the bottom edge where the base meets the sides — this is where buildup concentrates. For pans used on gas burners, the flame creates carbon deposits on the base that need more attention than with induction or electric cooking.
Removing Heavy Exterior Buildup
For thick, dark buildup on the outside of the pan, a BKF paste applied and left to sit for 5 minutes, then scrubbed with a non-scratch pad, will remove most of it. For particularly stubborn grease that has carbonized over many months, you may need to repeat the process two or three times. Do not use steel wool or highly abrasive scouring pads on the exterior, as these will leave deep scratches that accumulate more grease in the future, creating a worse problem than you started with.
Some cooks find that a paste of baking soda and hydrogen peroxide (mixed to a thick consistency) works well on exterior discoloration. Apply it, cover with plastic wrap to keep it moist, and leave for 30 minutes before scrubbing. This oxidizing action can lift brown and yellow toning from the stainless steel without abrasive damage.
Cleaning by Problem Type: Quick Reference
Different messes on your stainless steel pots and pans require different approaches. The table below summarizes the best method for each common problem:
| Problem | Best Method | Time Required | What to Avoid |
|---|---|---|---|
| Everyday food residue | Warm soapy water + soft sponge | 2–3 minutes | Abrasive pads |
| Stuck-on food | Boiling water + baking soda | 10–15 minutes | Dry scraping with metal tools |
| Rainbow discoloration | White vinegar soak or BKF | 5–10 minutes | Steel wool, bleach |
| White calcium deposits | Vinegar + water simmer | 10 minutes | Prolonged acid contact |
| Burnt/scorched food | BKF paste or baking soda paste | 15–30 minutes | Steel wool, harsh abrasives |
| Exterior grease buildup | BKF + non-scratch pad | 10–30 minutes | Steel wool, wire brushes |
| Water spots | Lemon juice or vinegar wipe | 2–5 minutes | Air drying without wiping |
What You Should Never Use on Made-In Stainless Steel
Knowing what not to use is just as important as knowing what works. Some commonly available cleaning products and tools can cause permanent damage to stainless steel cookware.
- Steel wool and metal scouring pads — these leave micro-scratches that become sites for rust formation and grease accumulation. Once scratched deeply, the pattern cannot be fully restored
- Bleach and chlorine-based cleaners — chlorine attacks the chromium oxide layer that protects the steel, making it vulnerable to pitting and rust over time. Even diluted bleach solutions are damaging with repeated use
- Oven cleaner — highly alkaline sprays designed for oven interiors will discolor and damage the finish of stainless steel pans, especially on the exterior
- Prolonged soaking — leaving pans sitting in soapy water for hours or overnight can cause water spots, dulling, and in extreme cases contribute to pitting, especially on the cut edges and rivets
- Cold water on a hot pan — the risk of thermal shock and warping makes this a habit worth breaking immediately, especially with multi-ply clad pots and pans
- Cooking sprays as a substitute for oil — while this is more of a cooking tip than a cleaning tip, aerosol cooking sprays leave a sticky polymer residue on stainless steel that is extremely difficult to remove and bonds more aggressively with each use
Polishing and Restoring the Shine on Your Stainless Steel Pans
After cleaning, especially after using BKF or vinegar, you can take an extra step to restore the shine of your Made-In pots and pans and give them a polished, like-new appearance.
The Olive Oil Polish
Apply a few drops of olive oil or mineral oil to a clean soft cloth or paper towel. Rub it over the dry exterior of the pan using long strokes that follow the direction of the brushed grain in the steel. Buff off any excess with a clean cloth. This fills in micro-scratches optically, repels new fingerprints, and gives the surface a warm luster. Do not apply oil to the interior cooking surface if you plan to store the pan — it can go rancid over time and leave an off smell when you next heat the pan.
Dedicated Stainless Steel Polish
Products like Weiman Stainless Steel Cleaner & Polish are formulated specifically for this purpose. They clean, polish, and leave a fingerprint-resistant coating in a single step. These work particularly well on the exterior of high-use pots and pans that see heavy daily use. Apply with the grain, buff to a shine, and allow to dry before storing or stacking.
Preventing Messes Before They Start: Cooking Tips That Make Cleaning Easier
The best cleaning strategy is reducing how much heavy cleaning you need to do. Many of the worst stuck-food situations in stainless steel pans are avoidable with a few straightforward adjustments to your cooking habits.
Preheat the Pan Properly Before Adding Food
The most common reason food sticks to stainless steel is that the pan wasn't hot enough before the food went in. Preheat the pan on medium heat for 2 to 3 minutes before adding oil, then wait another 30 seconds for the oil to heat before adding food. A simple test: flick a few drops of water into the pan. If they immediately evaporate, the pan isn't hot enough. If they bead up and roll around like mercury (the Leidenfrost effect), the pan is at the right temperature. At this point the steel's surface pores have closed, and food will release cleanly without sticking.
Add Salt Only After Water Boils
Adding salt to cold water in a stainless steel pot causes the salt crystals to settle on the base and react with the steel before the water can dissolve and disperse them. Over time this can cause pitting — small permanent craters in the surface. Always add salt after the water has reached a full boil, when it will dissolve immediately on contact.
Don't Leave Acidic Foods Sitting in the Pan
Tomato sauce, citrus-based marinades, and vinegar reductions are all fine to cook in stainless steel pots and pans. But leaving them in the pan to cool overnight — or using the pan as a storage vessel — gives the acid prolonged contact with the surface, which can cause pitting and discoloration. Transfer leftovers to a separate container once you're done cooking.
Use the Right Burner Size
Using a burner that's larger than the pan base causes the flame or heating element to heat the sides of the pan, leading to uneven cooking and scorching on the walls. This creates more cleaning work and can cause exterior discoloration. Match your burner size to your pan as closely as possible — Made-In's 10-inch pan works best on a burner with a diameter of 8 to 10 inches.
How to Store Made-In Stainless Steel Pots and Pans Without Causing Damage
Improper storage is a frequent but often overlooked source of surface damage on stainless steel cookware. Stacking pans directly on top of each other — especially with lids — creates metal-on-metal contact that scratches the interior finish over time.
- Use pan protectors — felt or silicone pan separators placed between stacked pans prevent scratching and are inexpensive (typically under $10 for a set of 8 to 12)
- Store lids separately — if lids have exposed metal handles that contact the pan interior, they can leave circular scratches over time
- Ensure pans are completely dry before stacking — moisture trapped between pans promotes water spot formation and in rare cases can accelerate surface dullness
- Use a hanging rack if cabinet space is limited — hanging pots and pans on a ceiling rack or wall-mounted rail eliminates stacking entirely and keeps each piece accessible without contact damage
Frequently Asked Questions About Cleaning Stainless Steel Cookware
Can I use a Scotch-Brite pad on Made-In stainless steel?
It depends on the type. The green Scotch-Brite heavy-duty pads are too abrasive and will leave visible scratches on the interior. The blue or white non-scratch Scotch-Brite pads are generally safe for stainless steel. When in doubt, use the least abrasive option that gets the job done.
Why does my stainless steel pan have rust spots?
True rust on stainless steel is uncommon but can happen in two scenarios: contact with iron particles from a cast iron pan or steel wool (causing surface rust that looks like it's coming from the stainless steel itself), or damage to the chromium oxide layer through chlorine exposure or deep scratching. In both cases, Bar Keepers Friend will remove surface rust. If the rusting is deep or recurring, the protective layer may be compromised and the pan may need replacement.
Is it safe to cook in a discolored stainless steel pan?
Yes. Rainbow discoloration, water spots, and minor surface scratches are all cosmetic and do not affect the safety or performance of the pan. Stainless steel is rated food-safe precisely because it doesn't leach chemicals into food under normal cooking conditions. The chromium content that causes the discoloration is the same element that protects the surface — it's not migrating into your food.
How often should I do a deep clean on my stainless steel pots and pans?
For home cooks using their pans daily, a thorough cleaning with BKF every 2 to 4 weeks keeps pots and pans in excellent condition. If you cook professionally or use your pans multiple times a day, a weekly deep clean is more appropriate. Exterior buildup should be addressed before it becomes carbonized — once grease layers polymerize completely, they require significantly more effort to remove.
Does Made-In have a warranty that covers cleaning damage?
Made-In offers a lifetime warranty on their stainless steel cookware, but cosmetic damage from improper cleaning — including scratches from abrasive pads or discoloration from bleach — is not covered. The warranty applies to manufacturing defects such as delamination of the bonded layers or handle failures. Keeping your pans clean using the methods in this guide ensures both long-term performance and a warranty-valid condition.