English
 中文简体
中文简体
 日本語
日本語
 Español
Content
- 1 What You Need to Clean a Cast Iron Frying Pan
- 2 The Daily Cleaning Routine for a Cast Iron Frying Pan
- 3 How to Remove Stuck-On Food and Burnt Residue
- 4 How to Remove Rust and Restore a Neglected Skillet
- 5 How to Re-Season a Cast Iron Frying Pan in the Oven
- 6 Common Cast Iron Cleaning Mistakes to Avoid
- 7 Adjusting Your Cleaning Method by Cooking Style
- 8 How Often Should You Replace a Cast Iron Frying Pan?
- 9 Frequently Asked Questions About Cast Iron Care
- 9.1 1. Can I use dish soap to clean a cast iron frying pan?
- 9.2 2. Why does my cast iron pan rust even after I dry it?
- 9.3 3. How often do I need to re-season my cast iron pan?
- 9.4 4. Food keeps sticking to my cast iron pan. Is it ruined?
- 9.5 5. Is a rough surface on a cast iron pan normal?
- 9.6 6. Can I clean a cast iron frying pan in the dishwasher?
If you own a cast iron frying pan and want it to keep performing for years, the cleaning routine is far simpler than most people assume. Clean the pan while it is still warm, rinse it with hot water, scrub it with a stiff-bristle brush, dry it completely over low heat, and rub in a very thin layer of cooking oil before storing. That is the entire daily care loop. Soap is acceptable in small amounts when needed, but heat and oil — not detergent — are what keep cast iron naturally non-stick.
Most cast iron problems, such as rust spots, sticky surfaces, and flaking seasoning, trace back to just a few cleaning mistakes. Once you understand why the pan behaves the way it does, you will never need to strip and re-season it more than once or twice a year. This guide covers daily cleaning, stuck-on food, rust removal, re-seasoning, common errors, and adjustments for different cooking styles — all based on the same logic professional cookware manufacturers apply when testing their own products.
What You Need to Clean a Cast Iron Frying Pan
Having the right tools within reach makes cleaning easier and keeps your pan in better shape. These are the essentials every kitchen should have dedicated to cast iron care:
- Stiff-bristle brush or chainmail scrubber — handles everyday food residue without wearing down the seasoning.
- Flat-edged metal or wooden scraper — for lifting stuck bits without gouging the surface.
- Kosher salt or coarse sea salt — acts as a mild abrasive that removes residue while absorbing grease.
- Mild dish soap — optional but not forbidden; keep it to small amounts for stubborn cleaning.
- Lint-free cloths or paper towels — used for drying and applying oil.
- High-smoke-point cooking oil — canola, grapeseed, or vegetable oil works best for the final oiling step.
- White vinegar and steel wool — reserved for rust removal, not daily upkeep.
Avoid using fine steel wool for daily cleaning because it removes polymerized seasoning along with the food residue. Reserve steel wool exclusively for rust restoration. If you are buying brush attachments, a standard wooden-handle scrub brush from any kitchen supply store is sufficient; you do not need a special cast-iron kit.
The Daily Cleaning Routine for a Cast Iron Frying Pan
Follow this sequence every time you finish cooking. It takes about three minutes and prevents nearly every long-term issue.
- Clean while warm, not hot. A warm pan allows grease and residue to release easily. If the pan is scorching hot, let it sit for five to ten minutes to avoid thermal shock from cold water.
- Rinse with hot tap water. Run the pan under hot water and use the brush to remove loose food particles. Hot water keeps the absorbed fats liquefied, so they rinse away instead of hardening on the surface.
- Scrub with the stiff brush. Work in circular motions, focusing on spots where food stuck. The brush removes residue without scraping off seasoning.
- Use salt for stubborn residue. Sprinkle one-quarter cup of kosher salt into the pan and scrub with paper towels. The salt crystals dislodge burnt bits while soaking up fat, then rinse thoroughly.
- Use mild soap only when needed. Modern dish soap in small quantities is safe, particularly after cooking fish, eggs, or anything with a lingering odor. Rinse well and never let soap sit on the surface.
- Dry thoroughly on the stove. Place the pan over low heat for one to two minutes until every drop of moisture evaporates. Do not skip this step; air-drying a washed cast iron pan is one of the fastest routes to rust.
- Apply a barely-visible layer of oil. Add a few drops of oil to the warm pan and wipe it across the entire cooking surface with a paper towel. Then wipe again with a clean towel to remove the excess. The ideal residue feels dry to the touch, not oily.
- Store in a dry, open space. Hang the pan or place it flat with a paper towel folded inside the cooking surface to absorb residual humidity.
This routine reinforces seasoning every time you cook, which is why a well-maintained pan becomes more non-stick over the years. When you purchase a cast iron pan, the initial factory pre-seasoning is only the starting point; your own cooking oil builds the real non-stick layer after dozens of uses.
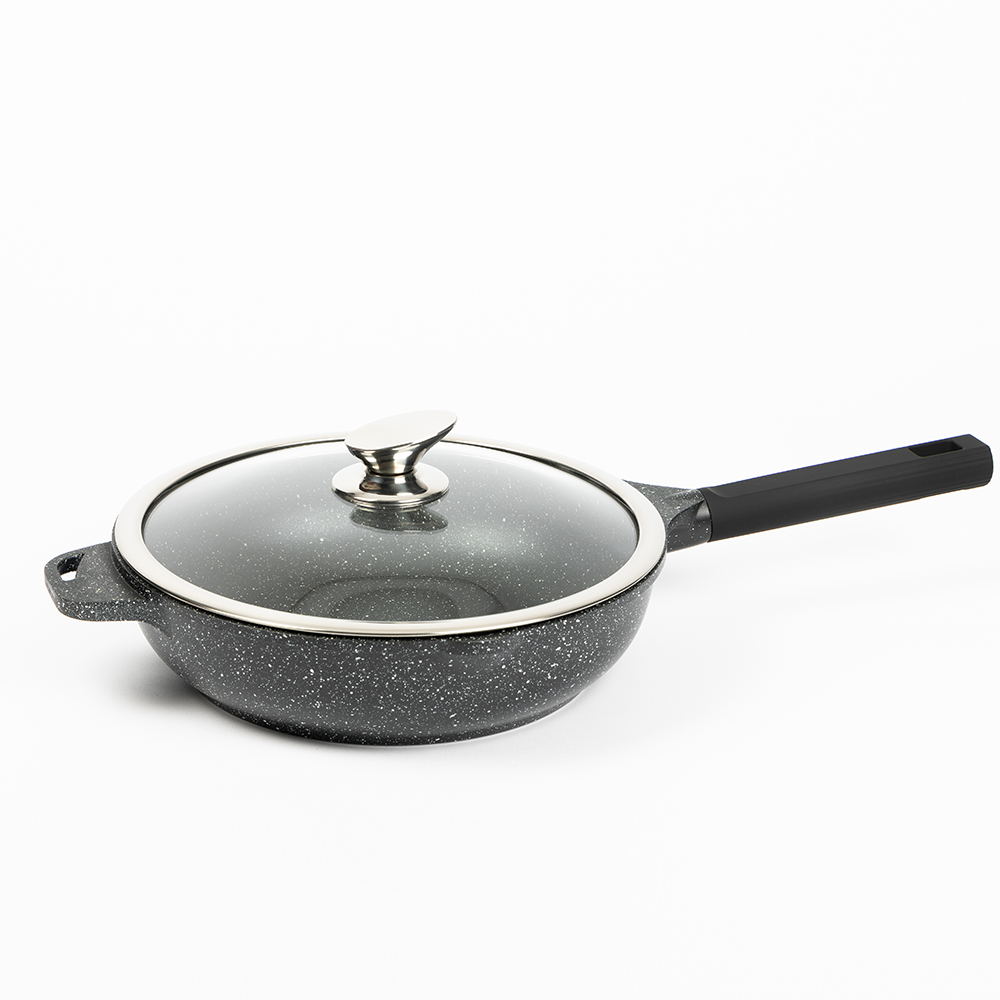
 12-Inch Cast Iron Skillet with Glass Lid and Bakelite HandleThis cast iron skillet suits everyday cooking and helps build a natural non-stick layer over time. Its glass lid adds convenience, making it a practical choice for maintaining and re-seasoning your pan.View Product →
How to Remove Stuck-On Food and Burnt Residue
Every cast iron user eventually faces a pan with a stubborn layer of burnt food. The mistake is to attack it aggressively with heavy scraping. Here are four methods, listed from least to most intensive, that safely remove residue without stripping the seasoning.
Method 1: Salt scrub. Pour about one-half cup of coarse salt into the pan and scrub with paper towels or a folded cloth. Salt abrades burnt food and absorbs oil, leaving the surface clean after a hot water rinse. This works great after cooking eggs, pancakes, or seared meats.
Method 2: Simmer water. Add roughly one-half inch of water to the pan and bring it to a gentle simmer for three to five minutes, then use a flat wooden spatula to lift softened food. Pour out the water, scrub with a brush, and re-dry over low heat. This is the safest method for daily stubborn spots.
Method 3: Baking soda paste. Mix three parts baking soda with one part water to form a paste, spread it over trouble spots, and let it sit for ten minutes. Gently scrub with a nylon brush, rinse, then re-oil. Baking soda is mildly alkaline and breaks down polymerized fats without damaging the metal.
Method 4: Boiling water for carbonized food. Fill the pan halfway with water and boil for five minutes, then scrape with a wooden or plastic utensil. This method is the most aggressive of the four; it temporarily weakens the seasoning, so after cleaning, heat the pan dry and apply a thorough oil layer.
If food is still cemented on after all four methods, step back and repeat the simmer step rather than escalating to power tools or oven cleaner. Patience protects the pan's coating.
How to Remove Rust and Restore a Neglected Skillet
Rust is the most common cast iron problem, and it is also the easiest to fix if you catch it early. A pan with a few orange spots is not ruined; it just needs a short vinegar treatment, a thorough scrub, and a fresh seasoning layer. Do not re-season over rust, because rust will continue to spread underneath the oil layer.
Step-by-step rust removal
- Assess the rust level. Light surface rust (orange dust that wipes off partially) can be spot-treated. Thick, flaky rust means the pan needs a full strip.
- Prepare a vinegar solution. Mix one part white vinegar with one part water in a container large enough to hold the pan. The solution dissolves iron oxide without damaging the base metal in a short time.
- Submerge or soak the affected area. For a fully rusted pan, submerge it for 15 to 30 minutes. Check every five minutes. Never soak for hours, because vinegar eventually pits the iron.
- Scrub with steel wool. Use medium-grade steel wool to remove loosened rust, working under running hot water. Continue until the surface feels uniformly smooth and the water runs clear.
- Dry immediately. Pat the pan dry with a towel, then place it over low heat for three minutes to drive moisture out of the iron's pores.
- Re-season the entire pan. Use the oven method below to rebuild the protective polymerized layer. One seasoning pass may be enough; two passes make the pan more resilient.
For pans recovered from flea markets or years of neglect, repeat the vinegar soak once if rust remains. After that, move straight to seasoning. The pan should look gray-silver before it goes into the oven; the black finish develops during the seasoning bake.
How to Re-Season a Cast Iron Frying Pan in the Oven
Re-seasoning is the process of baking a thin layer of oil into the iron to form a polymerized non-stick coating. This is also the finishing step after rust removal, and the same method is used by cookware factories to prepare new pans before shipping.
- Preheat the oven to 450°F (232°C). Place an oven rack in the middle position and line the bottom rack below with aluminum foil to catch drips.
- Wash the pan with warm, soapy water. Because rust removal leaves iron dust on the surface, a quick wash ensures the oil bonds directly to clean metal rather than to debris.
- Dry thoroughly. Towel-dry, then heat over low burner for two minutes.
- Apply a thin oil layer. Use one teaspoon of oil and rub it over the entire pan, including the handle and outer walls. Then wipe with a clean paper towel until it looks almost dry. Excess oil creates sticky spots during baking — this is the most common seasoning mistake.
- Place the pan upside down. This lets excess oil drip off instead of pooling inside the cooking surface.
- Bake for one hour. The pan will smoke slightly; that is normal — it is the oil polymerizing into the iron matrix.
- Turn off the oven and let the pan cool completely inside. Do not remove the pan while warm, because the seasoning is still soft.
- Repeat for resilience. Two or three seasoning cycles create a noticeably stronger coating than a single bake. For a pan that sees daily heavy use, a second cycle is worth the extra hour.
After re-seasoning, the pan will feel smooth to the touch and look evenly dark. If you notice uneven spots, that is normal for the first few uses; the coating continues to mature as you cook.
A cast iron frying pan that has been re-seasoned correctly can serve decades of daily cooking. If the pan itself is physically damaged — for example, warped from an empty pan over high heat or cracked from a hard drop — re-seasoning will not fix the structure. In that case, replacing it is the right move.
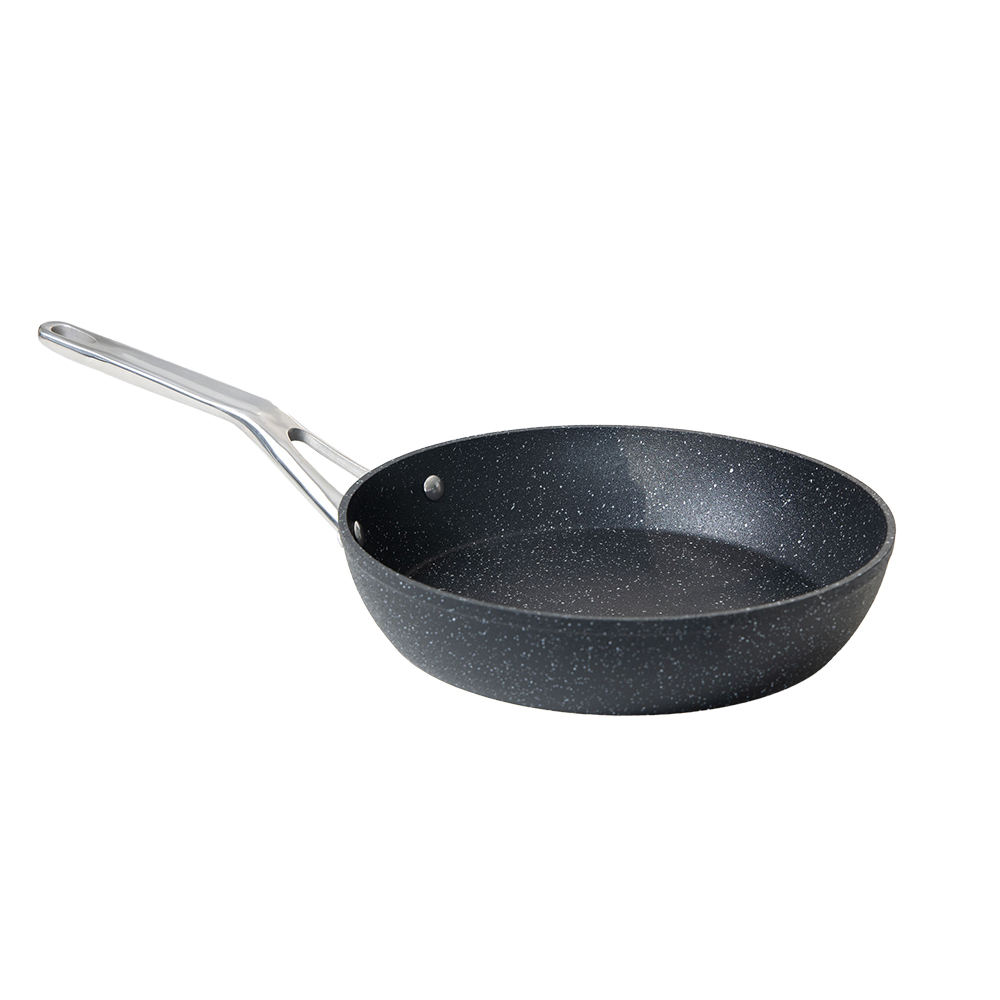
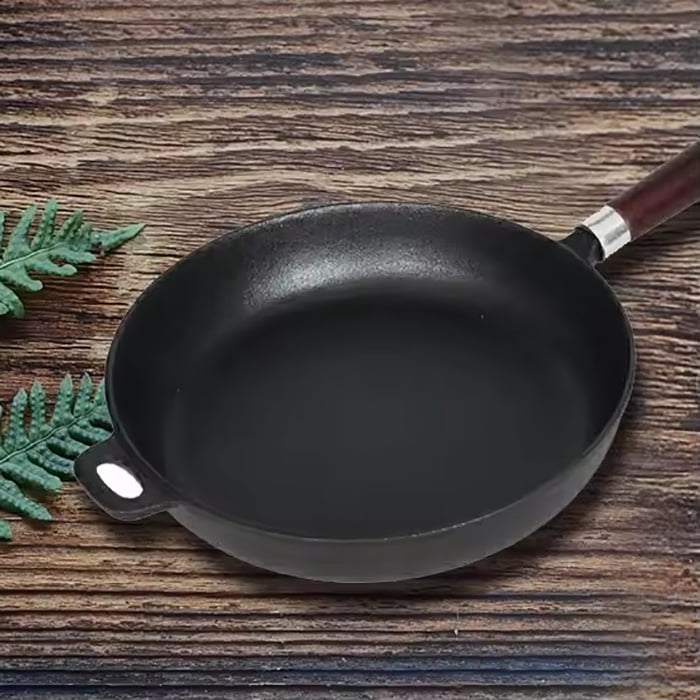 Cast Iron Non-Stick Frying Pan for Gas and Induction CookersWhen a damaged pan cannot be restored by re-seasoning, a replacement is necessary. This pre-seasoned frying pan offers a durable cooking surface and is compatible with common stovetops, fitting well into your cleaning routine.View Product →
Common Cast Iron Cleaning Mistakes to Avoid
The table below lists the most frequent cleaning errors, why they damage cast iron, and the correct alternative. Reviewing this list once will prevent years of unnecessary repair work.
| Mistake | Why It Hurts the Pan | Correct Approach |
|---|---|---|
| Soaking the pan in water | Water penetrates the seasoning and triggers rust within hours. | Clean within ten minutes; use the simmer method for stuck food. |
| Running it through the dishwasher | Aggressive detergents and moisture strip the seasoning completely. | Hand wash only, then dry on the stovetop. |
| Heating the pan empty on high | Extreme heat burns off seasoning and can warp the iron. | Preheat over medium heat; add oil before reaching cooking temperature. |
| Storing wet or damp | Moisture on bare iron causes rust spots within 24 hours. | Dry over low heat and apply a thin oil film before storing. |
| Using steel wool for everyday cleaning | Steel wool removes the polymerized non-stick layer along with residue. | Use a stiff brush, chainmail, or salt for daily cleaning. |
| Cooking acidic food regularly without re-oiling | Tomato sauce and citrus dissolve the seasoning layer over repeated use. | Limit acidic dishes, or use an enameled pan; re-oil after cooking. |
The single most important takeaway is moisture management. Cast iron is not fragile, but it is highly reactive to water. If you keep the pan dry and oiled, you can cook at high heat, use metal utensils, and scrub with relative force without affecting performance.
Adjusting Your Cleaning Method by Cooking Style
A cast iron frying pan handles everything from steak to cornbread, but each type of cooking leaves different residue. Adjust your cleaning routine to match what you cooked, and the pan will stay in better shape with less effort.
| Cooking Style | Residue Characteristic | Recommended Cleaning |
|---|---|---|
| Pan-seared steak | Heavy oil splatter, browned fond stuck on base | Hot water rinse, salt scrub, heat-dry, light oil coat. |
| Fried eggs and breakfast | Butter or oil residue, some caramelized edges | Wipe out excess butter, brush under hot water, heat-dry, re-oil lightly. |
| Cornbread and baking | Dry crumbs, butter coating baked on | Wipe with dry towel, rinse with hot water, heat-dry; no re-oil needed. |
| Stir-fried vegetables | Moisture release, softened food bits | Brush under hot water, heat-dry thoroughly, apply thin oil layer. |
| Deep or shallow frying | Polymerized oil film, burnt debris at edges | Boil water to loosen, scrape, wash with mild soap, re-season light. |
Notice that none of these routines involves oven restoration. The oven seasoning method is reserve power for pans that went through rust removal, years of heavy neglect, or bought new without factory pre-seasoning. For the normal cooking lifecycle, the daily routine reinforced by hot fat is all you need.
How Often Should You Replace a Cast Iron Frying Pan?
Unlike nonstick pans that degrade after a few years of heavy use, cast iron pans can last for generations when cleaned consistently. The durability comparison between cast iron and coated cookware is stark. A quality aluminum nonstick pan may need replacement when the coating wears off, but a cast iron pan simply accumulates better seasoning. This is why kitchens pass down skillets to their children rather than throwing them away.
However, there are three structural conditions that genuinely require replacement: cracks, warps, and holes. Cracks can cause uneven cooking and can expand under heat. A warped pan rocks on the stove and will never heat evenly regardless of seasoning. Rust damage deeper than surface-level pitting should also be inspected, because pitted iron traps water and rust can keep returning. In these cases, buying a new pan saves more effort than restoration.
When you do shop for a replacement, the cleaning experience is directly tied to the quality of manufacture. A pan with a smooth machined cooking surface is easier to clean because food finds few anchor points. A pan with a solid, comfortable handle, moderate weight, and a pre-seasoned surface from a professional cookware manufacturer will feel right at home in your daily cleaning routine.
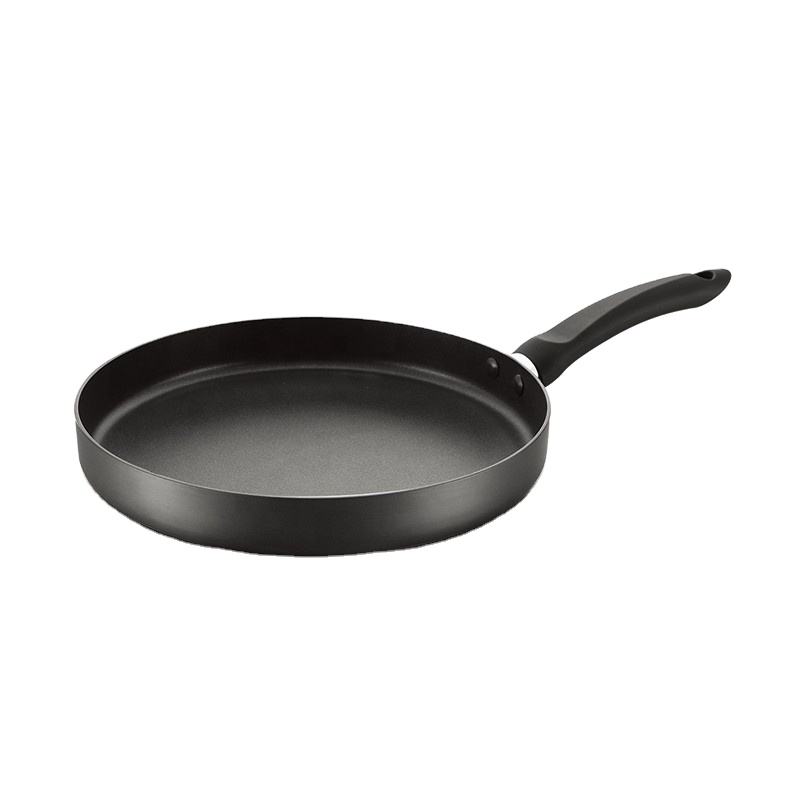
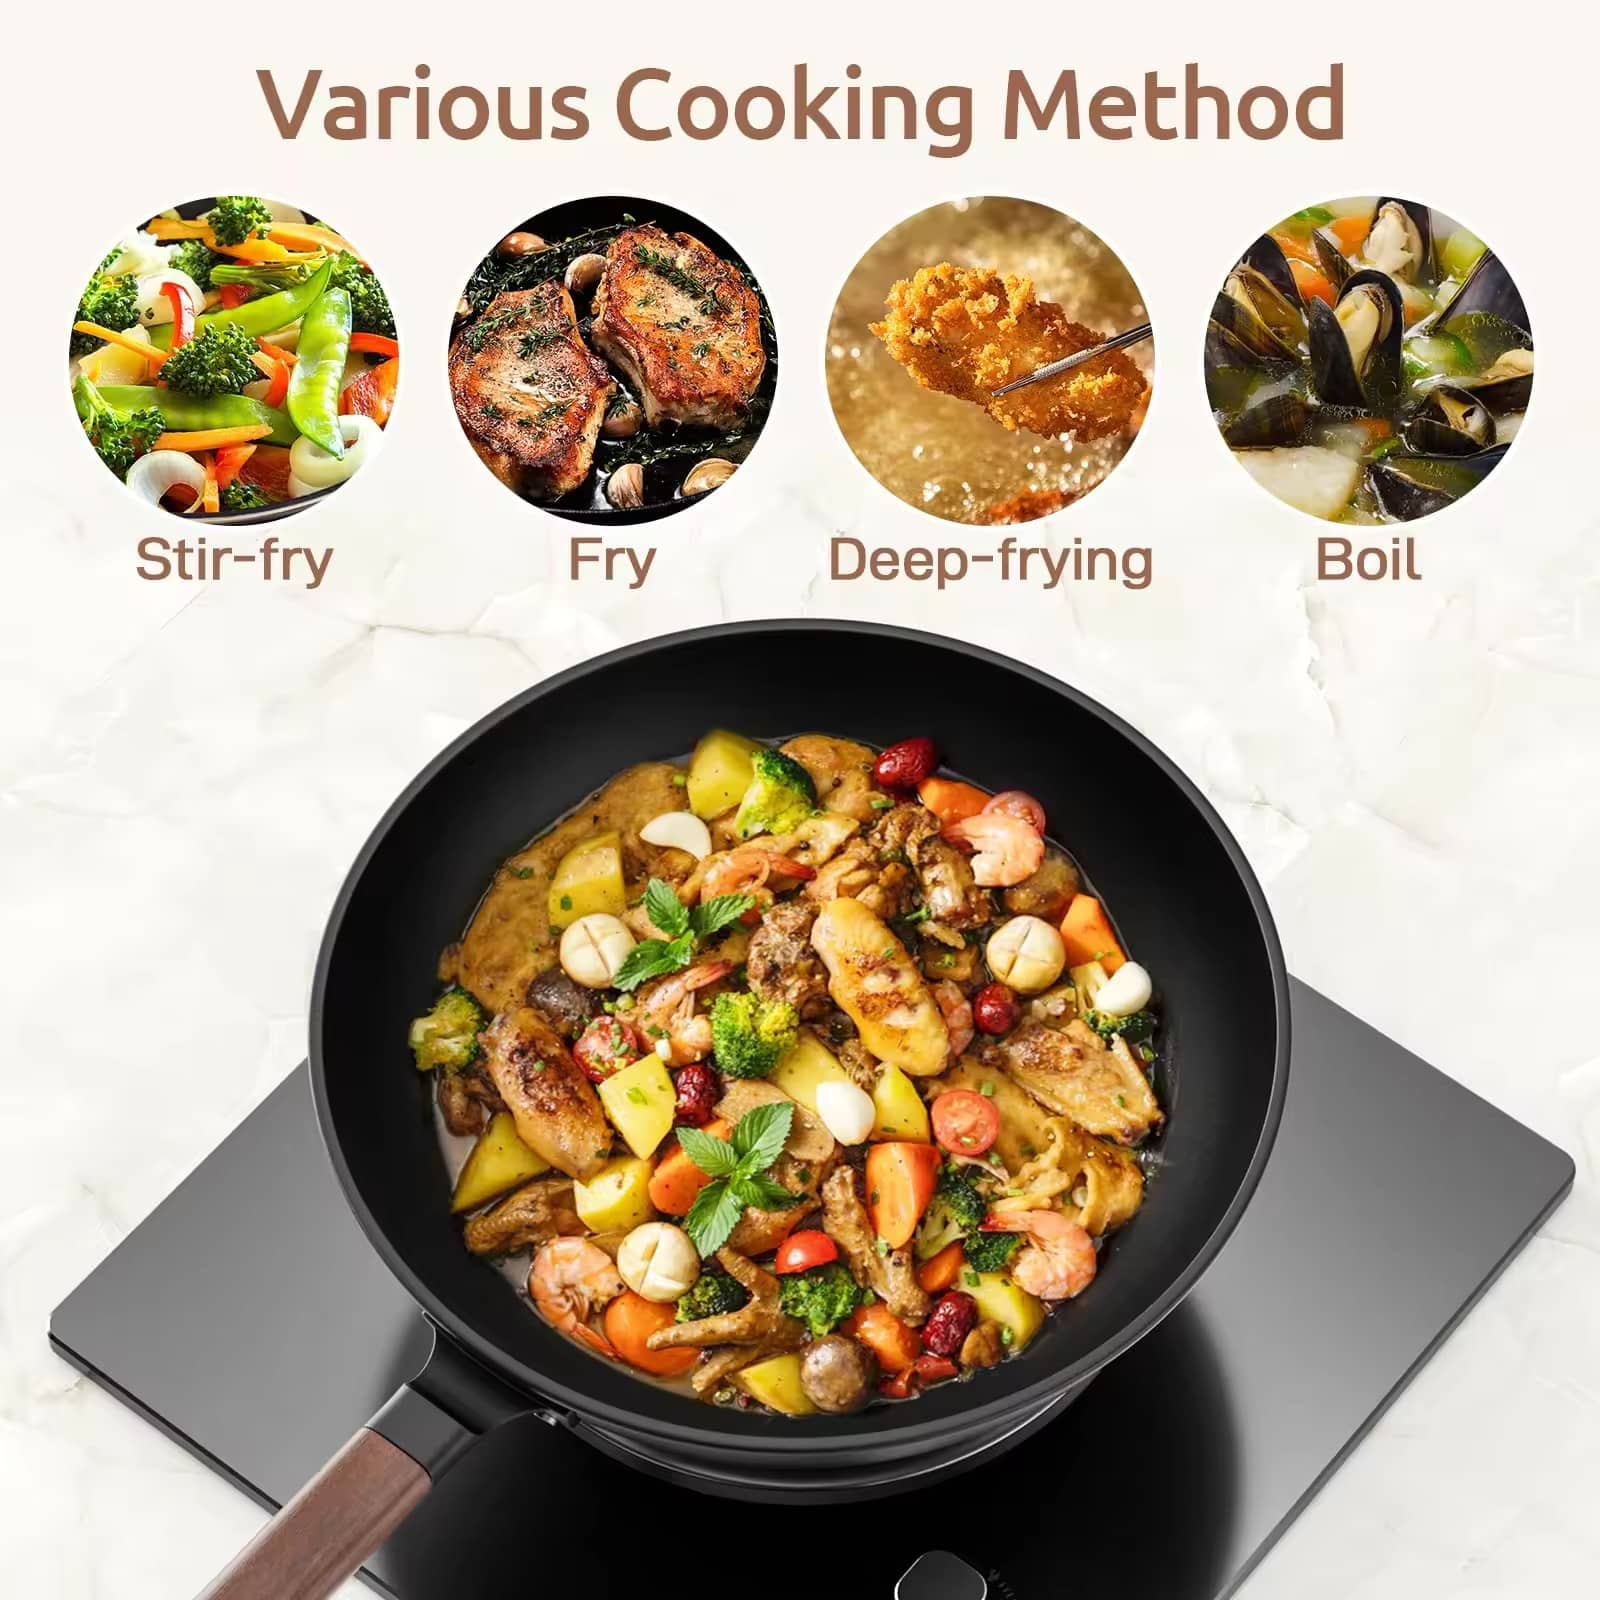 Cast Iron Flat Bottom Wok Pan with Non-Stick CoatingDesigned for gas and induction cookers, this wok features a non-stick coating and a comfortable bakelite handle. Its smooth surface makes cleaning easier, complementing the care tips about mild soap and thorough rinsing.View Product →
Frequently Asked Questions About Cast Iron Care
1. Can I use dish soap to clean a cast iron frying pan?
Yes, in moderation. Modern dish soap does not contain the harsh lye-based formulas that old-generation care guides warned about. A few drops of mild dish soap, followed by a thorough rinse, is fine for removing rancid oils or cooked fish smells. The key is to rinse completely, heat-dry immediately, and reapply a thin layer of oil to restore the protective film.
2. Why does my cast iron pan rust even after I dry it?
Likely reasons: moisture remains in the pan's micro-pores, the seasoning layer is too thin, or the pan is stored in a humid environment. After heat-drying, apply a thin layer of oil while the pan is still warm so the oil penetrates into the pores. In humid climates, store the pan with a paper towel folded inside.
3. How often do I need to re-season my cast iron pan?
If your daily cleaning includes the oiling step, a dedicated oven re-season is only needed once or twice per year. You will know re-seasoning is due when the surface appears dry, food begins sticking, or the pan's color fades to gray rather than glossy black. When that happens, a single oven seasoning pass brings it back.
4. Food keeps sticking to my cast iron pan. Is it ruined?
No, your pan is not ruined. Sticking is usually caused by one of three things: the pan is not hot enough before food is added, the seasoning layer is depleted, or the oil quantity is too low for the food being cooked. Heat the pan over medium heat for two to three minutes before adding oil, then add food. If sticking persists, re-season in the oven and adjust your preheating habit.
5. Is a rough surface on a cast iron pan normal?
Some cast iron pans have a pebbled, unpolished surface from the casting process. It is completely normal, and it smooths over time as layers of seasoning build in the texture valleys. If the roughness bothers you, you can sand the cooking surface with 120-grit sandpaper before re-seasoning, but it is not required for function.
6. Can I clean a cast iron frying pan in the dishwasher?
Never put cast iron in the dishwasher. The combination of high heat, aggressive detergent, and extended water contact strips seasoning and causes rapid rust. Dishwashers are suited for stainless steel cookware, but for cast iron, hand washing is the only correct method. If you are considering a pan with a nonstick coating layer instead, understanding how long a nonstick coating lasts will help you weigh the trade-off.
Cast iron cleaning is a skill that rewards consistency. The three-minute routine of warm water, stiff brush, stove-drying, and thin oiling keeps the pan non-stick, rust-free, and ready for the next meal. Whether you are caring for a newly purchased skillet or reviving a family heirloom, the principle stays the same: keep it dry, keep it oiled, and let time build the seasoning. If you are a brand, retailer, or procurement professional looking for cast iron frying pans manufactured to consistent standards, get in touch with our cookware engineering team about supply and custom design options.