English
 中文简体
 日本語
 Español
Content
- 1 The Short Answer: What a Dutch Oven Is Actually For
- 2 Material Changes the Rules: Enameled, Bare Cast Iron, and Non-Stick Aluminum
- 3 Before the First Cook: Prep, Seasoning, and Heat Rules
- 4 Stovetop Work: Searing, Sweating, and Deglazing
- 5 Oven Work: Braising, Roasting, and Baking
- 6 Liquid Ratios and Timing: A Braise by Numbers
- 7 Beyond Stew: Bread, Frying, Rice, and Roasting in the Same Pot
- 8 Size and Shape: Matching Capacity to the Job
- 9 Cleaning, Storage, and Coating Care
- 10 Five Mistakes That Change the Outcome
- 11 What Buyers and Private-Label Programs Should Check
- 12 Frequently Asked Questions
- 12.1 Do you have to preheat a Dutch oven before adding food?
- 12.2 Can you use a Dutch oven on an induction cooktop?
- 12.3 How full should you fill a Dutch oven for deep frying?
- 12.4 Can a non-stick Dutch oven go in the oven?
- 12.5 How long do you braise meat per pound?
- 12.6 What is the difference between a Dutch oven and a casserole?
- 12.7 Do you need to season an enameled or non-stick Dutch oven?
- 12.8 How do you clean burned food out of a Dutch oven?
- 12.9 Why did my braise turn out dry?
- 12.10 Can you bake bread in an aluminium non-stick Dutch oven?
A heavy pot with a matching lid comes out of the cupboard, the recipe says to brown the meat, add stock, cover, and slide the whole thing into the oven, and the question lands: what is this pot actually doing, and in what order? The answer is that a Dutch oven does two jobs in the same sentence. On the stovetop it works like a wide, thick-bottomed skillet that holds heat and browns food hard without scorching. In the oven it becomes a sealed, moist cooking chamber where steam rises, condenses on the lid, and falls back onto the food.
The short version of how to use one: preheat the pot over medium heat for three to five minutes, brown your main ingredient in a thin film of oil, add aromatics and deglaze, pour in liquid to roughly one-third or one-half of the way up the food, cover, and cook at 300 to 350 F in the oven or on low stovetop heat. Uncover for the last 15 to 30 minutes if you want a glaze. Bread, deep frying, rice, and roast chicken are all variations on that same rhythm.
What follows covers each stage in order, plus the material differences that change the rules, the liquid ratios that keep a braise from turning out dry or watery, the sizing math that decides whether a pot is worth owning, and the care routine that decides how long the surface lasts.
The Short Answer: What a Dutch Oven Is Actually For
A Dutch oven is a thick-walled, wide, relatively shallow pot with two short side handles and a tight-fitting lid. The wall thickness is the whole engineering story. Thick walls store heat, release it slowly, and smooth out the hot spots that a thin pan shows immediately. The lid is the second half of the design: it traps steam, which raises the humidity inside the pot and lets tough cuts break down without drying out.
Almost every Dutch oven recipe follows this five-step rhythm:
- Preheat the empty pot over medium heat for three to five minutes.
- Add one to two tablespoons of oil or fat and brown the main ingredient in a single layer.
- Add aromatics, then deglaze with wine, stock, or water, scraping the browned film off the base.
- Add liquid to one-third or one-half of the way up the food, cover, and cook at 300 to 350 F or on low stovetop heat.
- Uncover for the last 15 to 30 minutes to thicken, then rest the dish for 10 minutes before serving.
Two habits matter more than anything else in that list: never crowd the pot when browning, because a crowded pot steams instead of sears, and keep the lid on when you want tenderness and off when you want a glaze.
- Braises and stews: two to four hours at 300 to 325 F, lid on.
- Bread: preheat to 450 F, bake 20 minutes covered and 20 to 25 minutes uncovered.
- Deep frying: 350 F oil, filled no more than one-third of the way up the pot.
- Rice and grains: one part rice to one and a half parts water, covered, lowest heat for 15 minutes.
Material Changes the Rules: Enameled, Bare Cast Iron, and Non-Stick Aluminum
The cooking method stays roughly the same across materials, but the heat ceiling, the cleaning routine, and the seasoning question do not. Getting these wrong is the most common reason a new pot performs badly in its first month.
| Body type | Heat behaviour | Typical oven limit | Seasoning | Best suited to |
|---|---|---|---|---|
| Enameled cast iron | Slow, even, holds heat for a long time | 450 to 500 F, knobs often lower | None required | Acidic braises with tomato or wine |
| Bare cast iron | Slow, even, improves with use | 500 F and above | Required, re-oiled after washing | Searing, frying, bread, camp cooking |
| Forged or die-cast aluminium with non-stick coating | Heats fast, moderate retention | 350 to 450 F depending on handle and lid | None required | Weeknight braises, sticky sauces, low-oil cooking |
| Ceramic-coated aluminium casserole | Fast to respond, lighter to lift | 350 to 450 F | None required | Everyday stews, milk, noodles, reheating |
Weight is the practical dividing line. A 5.5-quart cast iron Dutch oven usually lands between 11 and 13 pounds empty, while a forged aluminium casserole of the same capacity typically sits between 3 and 5 pounds. A pot that a cook can lift with one hand and move from hob to oven to table without a plan tends to get used several times a week instead of twice a year.
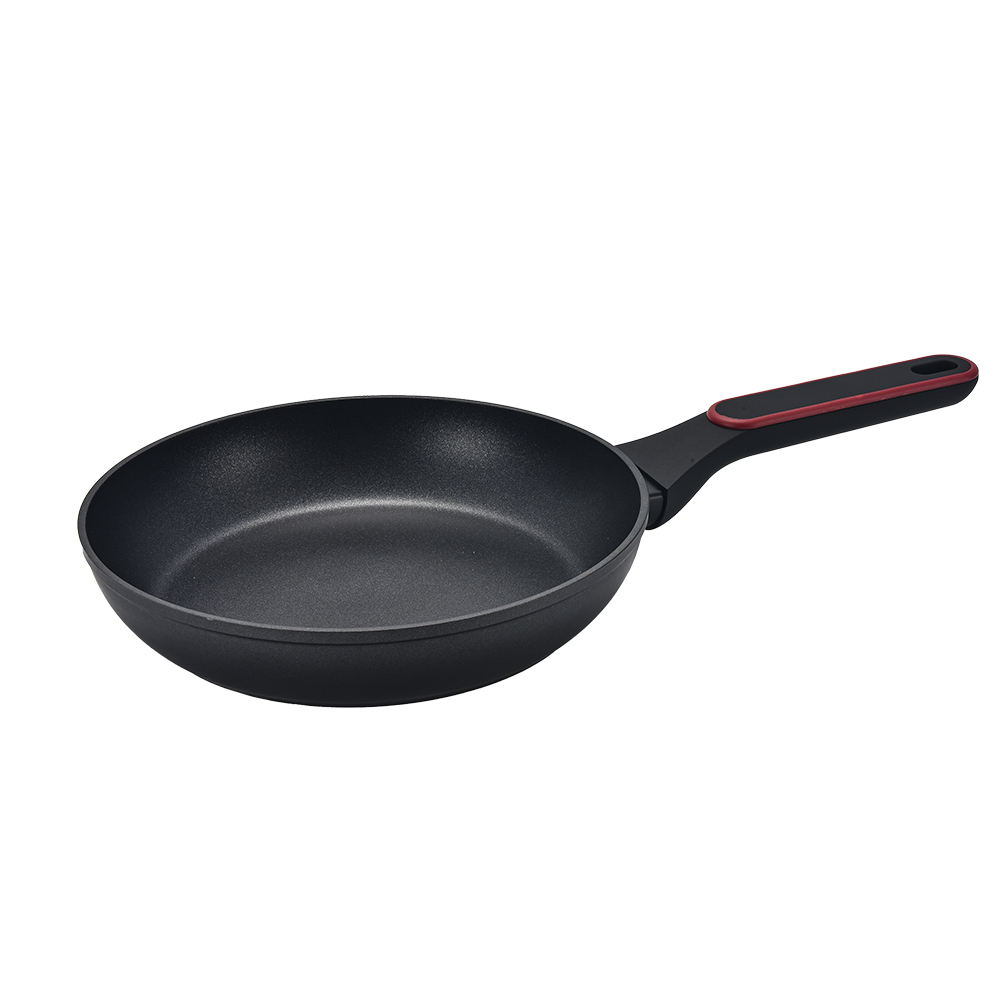
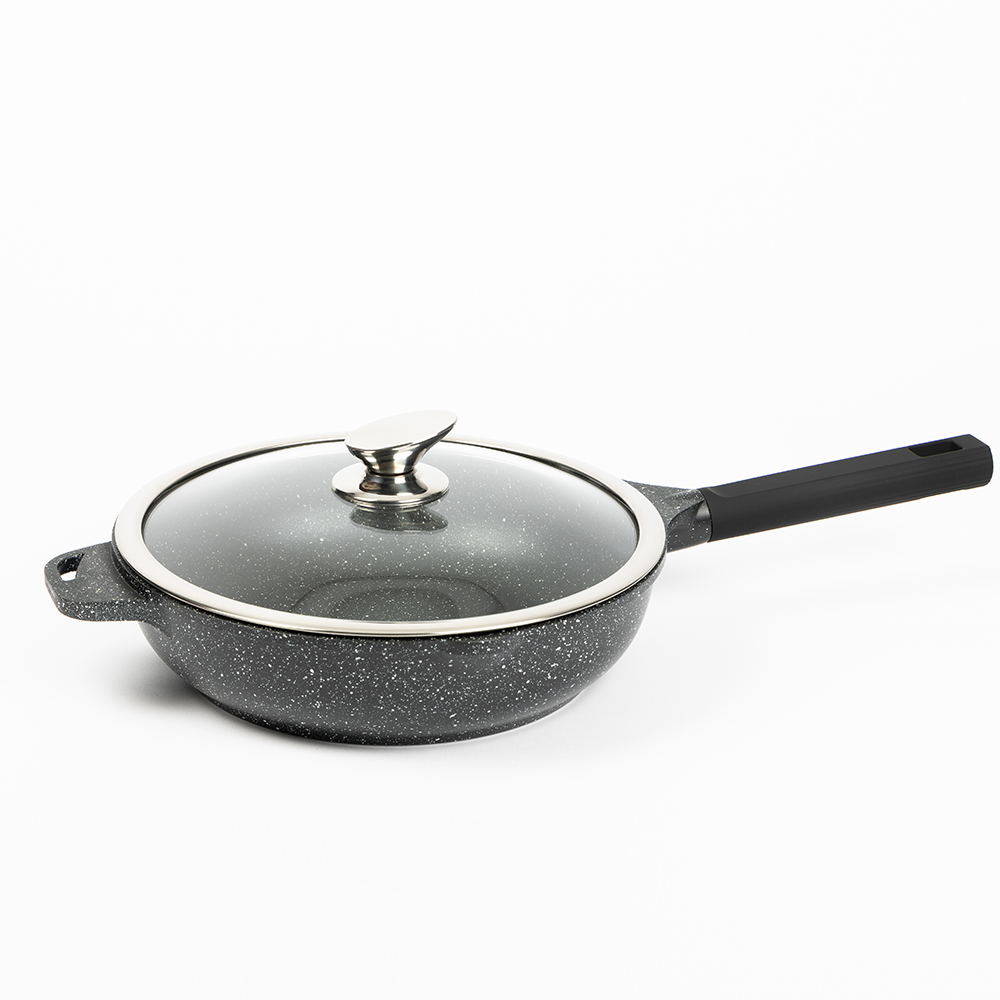
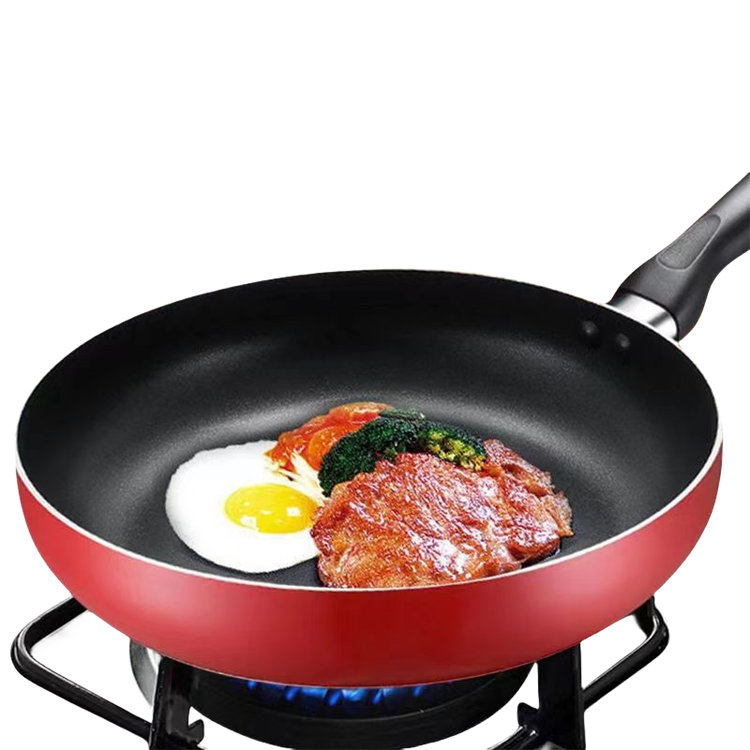
 5.5 Quart Aluminum Nonstick Dutch Oven in Black With LidIndustry-specific attributesView Product →
Coating choice also changes the fat budget. A non-stick surface can brown onions and carrots with roughly half a tablespoon of oil, where bare cast iron needs two tablespoons or more to stop proteins from tearing. That matters for anyone cooking braises several times a week, or for households deliberately cutting oil from daily meals.
Before the First Cook: Prep, Seasoning, and Heat Rules
Bare cast iron
Cast iron arrives either pre-seasoned or bare. Either way, the first session sets the pattern:
- Wash with hot water and a stiff brush, then dry on low heat for two minutes.
- Apply a very thin film of neutral oil across the interior and the rim.
- Heat until the oil just begins to smoke, then switch off and let it cool.
- Repeat two or three times before the first real cook with anything acidic.
Enameled cast iron
There is no seasoning step. Wash it, cook in it, and protect the enamel instead. The three habits that preserve it are avoiding thermal shock (never pour cold water into a hot pot), avoiding metal utensils, and never preheating the empty pot on high heat, because uneven expansion can craze the coating.
Non-stick and ceramic-coated aluminium
No seasoning and no high heat. Medium is the working setting for these pots; they conduct quickly and reach searing temperature in about two minutes. Aerosol cooking sprays are worth avoiding because the lecithin in them bakes into a brown film that slowly kills release. Wood, silicone, and nylon tools keep the surface intact far longer than metal.
Stovetop Work: Searing, Sweating, and Deglazing
Most of the flavour in a finished braise is built in the first ten minutes, before any liquid goes in. Three techniques do the work.
Searing
Pat the meat dry with paper towel. Water on the surface has to evaporate before browning starts, and that evaporation is what turns a sear into a steam. Season just before the meat hits the pot, add one to two tablespoons of oil, and lay pieces in a single layer with about an inch of space between them. Leave each piece undisturbed for three to four minutes before turning. A three-pound chuck roast cut into four pieces browns in two batches in a 5.5-quart pot; forcing all of it in at once drops the surface temperature and produces grey meat.
Sweating aromatics
After the meat comes out, drop the heat to medium-low and add onion, carrot, and celery. Six to eight minutes gets them soft and translucent without colour, which is what a clean braise wants. If you want a darker, richer base, keep them going another five minutes until they take on colour, then carry on.
Deglazing
Pour a quarter to a half cup of wine, stock, or plain water into the hot pot and scrape the browned film off the base with a wooden spoon. Reduce that liquid by about half before adding the rest. Skipping this step leaves the best-tasting layer of the dish stuck to the bottom of the pot, and if the pot then sits over heat for two hours, that layer turns bitter.
Oven Work: Braising, Roasting, and Baking
Moving the pot into the oven changes the physics. The heat surrounds the pot on all sides instead of arriving from one burner, and the lid traps moisture so the food cooks in its own steam. That is why the same stew tastes different when it spends two hours in a 325 F oven rather than two hours on a low flame.
| Method | Temperature | Lid | Timing | Doneness check |
|---|---|---|---|---|
| Beef braise | 300 to 325 F | On | 45 to 60 minutes per pound | A fork twists the meat without resistance |
| Whole chicken | 425 F | Off | About 20 minutes per pound | 165 F in the thigh, per USDA poultry guidance |
| No-knead bread | 450 F preheat | On 20 minutes, then off | 40 to 45 minutes total | 205 F internal, hollow sound when tapped |
| Deep frying | 350 F oil | Off | 3 to 5 minutes per batch | Golden crust, bubbles slow at the edges |
| Steamed vegetables or dumplings | Stovetop, medium | On | 8 to 15 minutes | Knife slides through the thickest piece |
Lid knobs are the surprise hiding in a lot of recipes. Many are rated to 400 F or below even when the pot body handles 500 F. Before baking bread at 450 F, either check the knob rating or wrap the knob in aluminium foil. The same logic applies to glass lids with silicone rims and to bakelite or soft-touch handles on lighter casseroles, which commonly top out between 350 F and 450 F.
Liquid Ratios and Timing: A Braise by Numbers
Two numbers decide whether a braise comes out rich or washed out: how high the liquid sits on the food, and how long the lid stays on. Get those right and the dish is forgiving about everything else.
| Cut or dish | Weight | Liquid level | Oven | Time |
|---|---|---|---|---|
| Beef chuck, cut in four | 3 lb | Halfway up the meat | 325 F | 2.5 to 3 hours |
| Lamb shoulder, bone in | 3 lb | Halfway | 325 F | 2 to 2.5 hours |
| Pork shoulder, cubed | 4 lb | One third up | 300 F | 3 to 3.5 hours |
| Short ribs | 3 lb | Halfway | 325 F | 2.5 to 3 hours |
| Dried beans, soaked overnight | 1 lb dry | Two inches above | 300 F | 1.5 to 2 hours |
Evaporation is the number most cooks miss. A covered 5.5-quart pot at 325 F loses roughly a quarter to a third of a cup of liquid per hour. Take the lid off at 425 F and the same pot can lose one to one and a half cups per hour. That is why a stew that looks perfect at the two-hour mark can turn thick and salty 30 minutes later if the lid comes off early and the sauce was seasoned up front.
Beyond Stew: Bread, Frying, Rice, and Roasting in the Same Pot
No-knead bread
Preheat the pot with the lid on at 450 F for 30 minutes. Drop the dough onto parchment, lower it in, bake covered for 20 minutes, then uncovered for 20 to 25 minutes. The trapped steam in the first phase gives the crust its blistered shine. Check the internal temperature at 205 F rather than trusting the clock.
Deep frying
A wide Dutch oven is one of the safest frying vessels in a home kitchen because the high walls contain spatter. Fill it no more than one-third of the way with oil, clip a thermometer to the side, and hold 350 F. Fry in small batches so the oil temperature does not crash. Chicken pieces take 12 to 15 minutes; doughnuts take 2 minutes a side.
Rice and grains
One cup of long-grain rice to one and a half cups of water. Bring to a boil uncovered, stir once, cover, drop to the lowest setting, and leave for 15 minutes. Switch off and rest 10 minutes before fluffing. The heavy base spreads the heat so the bottom layer does not scorch the way it does in a thin saucepan.
Roast chicken and root vegetables
Build a trivet of onion, carrot, and potato, sit the chicken on top, rub with oil and salt, and roast uncovered at 425 F for about 20 minutes per pound. The vegetables catch the drippings and the high walls stop the fat from hitting the oven floor.
Steaming and reheating
With a steamer insert or a simple trivet and an inch of water, the same pot handles dumplings, broccoli, and reheated leftovers without a microwave.
Size and Shape: Matching Capacity to the Job
| Capacity | Diameter | Serves | Typical jobs |
|---|---|---|---|
| 2 to 3 qt | 18 to 20 cm | 1 to 2 | Side dishes, rice, small bread, sauces |
| 4 qt | 24 cm | 2 to 3 | Weeknight stews, a 3 lb chicken |
| 5.5 qt | 26 cm | 4 to 5 | Standard braises, bread, frying |
| 7 qt | 28 cm | 6 to 8 | Pot roast, stock, batch cooking |
| 9 qt and up | 30 cm and up | 8 and up | Entertaining, restaurant prep, large batches |
Shape decides as much as capacity. A wider, shallower pot exposes more surface area, which favours browning, reducing, and frying. A narrower, deeper pot holds liquid with less evaporation, which favours boiling, steaming, and frying at depth.
The coverage rule is simple: food should sit in a single layer with liquid no higher than two-thirds up the sides. If there is more than about two inches of bare wall above the food, the pot is oversized for that dish and the braise will dry out before the meat is tender.
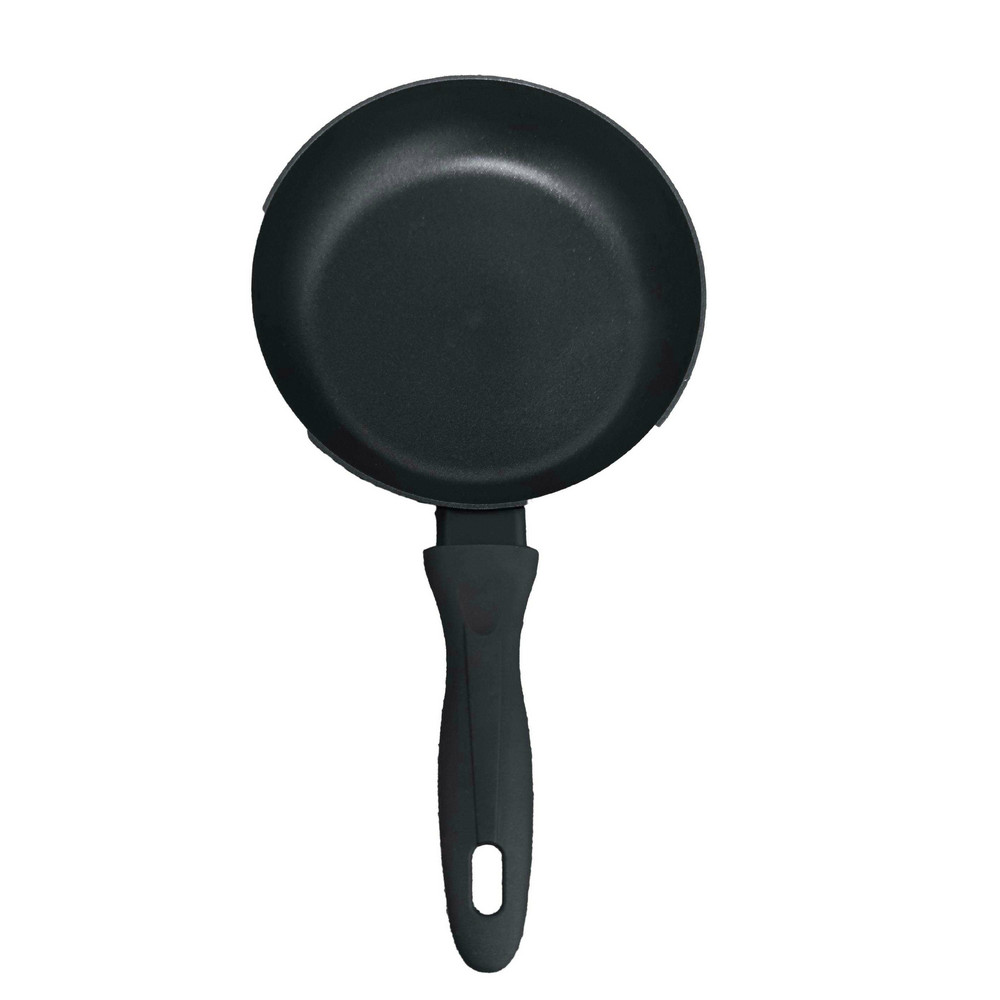
 Multi-Purpose Oven Safe Non Toxic Non Stick Skillet Pan Casserole Stockpot with Lid for BrIndustry-specific attributesView Product →
For buyers building a range rather than filling one kitchen cabinet, the practical spread is a small pot around 18 to 20 cm for milk and sauces, a 24 cm pot for two to three servings, a 26 cm braiser for the main volume, and a 28 to 30 cm piece for family or commercial use.
Cleaning, Storage, and Coating Care
The washing routine decides whether a coated pot keeps its release for years or loses it in months.
- Let the pot cool to warm before washing. Thermal shock cracks enamel and can warp thin aluminium.
- Enameled and non-stick surfaces want warm water, a soft sponge, and mild dish soap. No steel wool, no abrasive powders, no oven cleaner.
- Bare cast iron wants hot water and a stiff brush, then immediate drying on low heat and a thin film of oil.
- Stuck-on food: fill with water, add one tablespoon of baking soda, simmer for five minutes, then wipe.
- Stack with a folded cloth or a felt pad between pieces. The lid rim and the interior base are the two surfaces that scratch first.
- Use wood, silicone, or nylon tools on coated surfaces. Metal spatulas gouge the coating along the bottom radius, where replacement is impossible.
Coating life depends far more on heat and utensils than on age. How non-stick layers actually wear, and what genuinely causes scratching or peeling, is set out in this explanation of non-stick coating durability.
One more habit worth building: dry the pot fully before storing it with the lid on. Trapped moisture between a glass lid and an enamel rim is what produces the faint brown ring that appears after a few months in a closed cupboard.
Five Mistakes That Change the Outcome
- Preheating on high heat. Enamel crazes, non-stick coatings degrade, and the outside of the food burns before the inside browns. Medium is the working heat for almost everything.
- Crowding the pot. More than a single layer traps steam under the meat and produces grey, boiled surfaces instead of a brown crust. Two batches always beat one overloaded batch.
- Adding cold liquid to a hot pot. It drops the temperature sharply and slows the whole cook. Warm the stock first, especially in enameled and cast iron pots.
- Skipping the deglaze. The browned layer on the base is concentrated flavour. Leave it there for two hours at 325 F and it turns bitter instead.
- Keeping the lid on when you want a glaze. A covered pot holds moisture. The last 15 to 30 minutes uncovered is what turns a thin braising liquid into a sauce that coats a spoon.
What Buyers and Private-Label Programs Should Check
For importers, distributors, and restaurant chains, the questions shift from technique to specification. The same 5.5-quart shape can be built a dozen ways, and those differences decide landed cost, shelf appeal, and return rates more than any marketing claim.
- Body construction: forged or pressed aluminium versus die-cast. Die-cast holds a thicker, more uniform wall and a heavier hand feel; pressed bodies are lighter and cheaper per unit.
- Base design: a solid induction bottom versus a hole-type induction base, which changes how heat spreads across the base during a long simmer.
- Coating: marble, granite, ceramic, medical stone, or titanium crystal finishes, each with a different release and abrasion profile and a different price point.
- Lid: tempered glass with or without a silicone rim, or aluminium. The lid choice drives packaging height and freight cost as much as it drives cooking performance.
- Handle: bakelite, wood, silicone, soft-touch plastic, or removable. The handle material sets the oven rating and the retail price band.
- Size ladder: 18 cm through 32 cm covers most retail lineups, and 1.5 QT through 5.5 QT covers everything from a milk pan to a full braiser.
Leer Kitchenware, based in Cixi, Zhejiang, runs six production lines across a 15,000 square metre plant with more than ten technical staff, and works on OEM and ODM programs covering custom logo, size, colour, and coating selection. Custom sizes are common in this category, and the difference between a 26 cm and a 28 cm braiser is often the difference between a set that sells and one that sits. Programs that need a specific diameter, base type, and handle material usually start with a specification sheet and a sample request through the contact page.
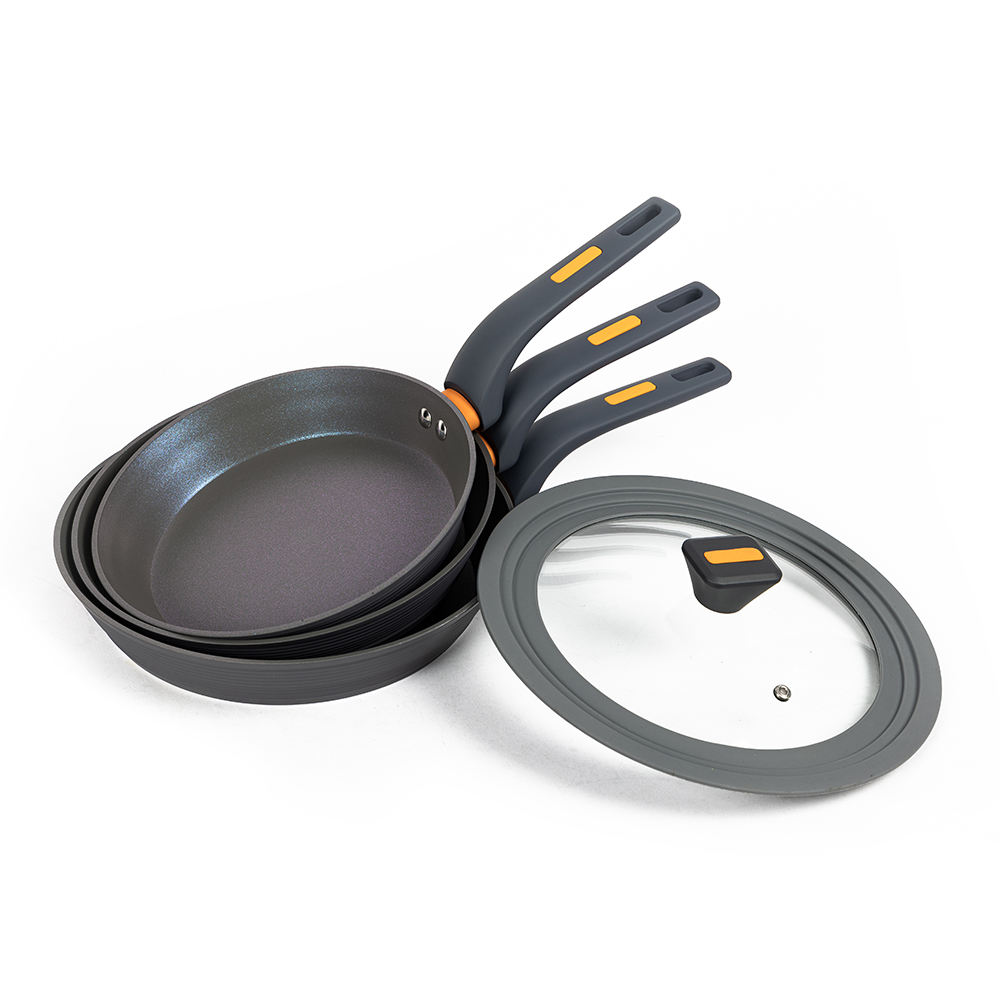
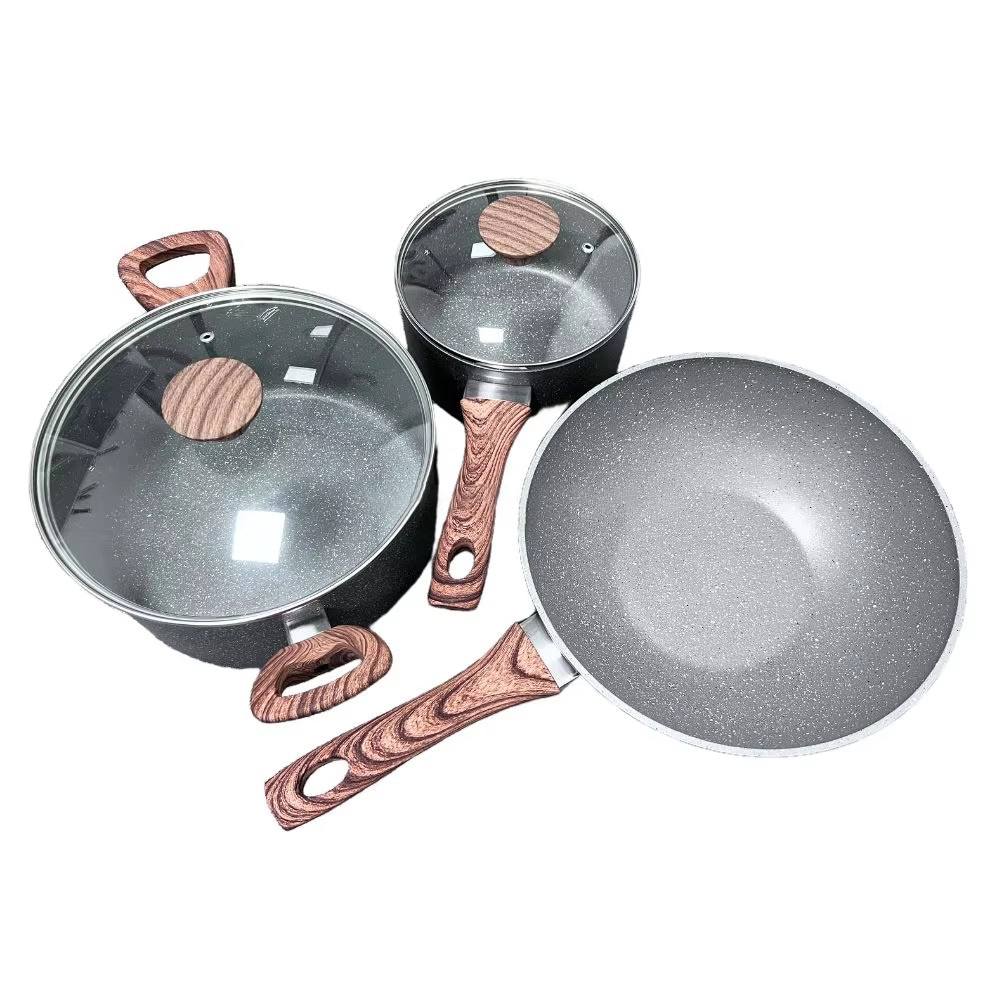 4.5mm Forged Aluminum Casserole Nonstick Coating Cookware Pot Induction Bottom With Glass Industry-specific attributesView Product →
Frequently Asked Questions
Do you have to preheat a Dutch oven before adding food?
Yes when you want browning, no when you are simmering. Three to five minutes over medium heat is enough for cast iron and enameled cast iron. Aluminium pots need closer to two minutes. If the recipe starts with onions and stock rather than a sear, the pot can go cold.
Can you use a Dutch oven on an induction cooktop?
Only if the base is magnetic. Bare and enameled cast iron always work. Aluminium pots need a steel induction plate built into the base; a quick test is to hold a fridge magnet against the bottom. If it sticks firmly, the hob will read it.
How full should you fill a Dutch oven for deep frying?
No more than one-third of the way up the pot. Food displaces oil and causes it to bubble and rise, so the empty headspace is a safety margin, not wasted capacity. A 5.5-quart pot handles about six cups of oil comfortably.
Can a non-stick Dutch oven go in the oven?
Usually yes, with a ceiling. Many aluminium non-stick casseroles with glass lids and bakelite or soft-touch handles are rated between 350 F and 450 F. The handle and the lid knob are normally the limiting parts, not the coating itself.
How long do you braise meat per pound?
Plan on 45 to 60 minutes per pound at 325 F for chuck, shoulder, and short rib. Tougher cuts with more connective tissue sit at the top of that range. Leaner cuts such as pork loin need far less and are better roasted than braised.
What is the difference between a Dutch oven and a casserole?
Mostly naming and proportions. In European catalogues the same lidded shape is often sold as a casserole or cocotte, and casseroles tend to be a little shallower and wider for the same capacity. Anything sold as a casserole with a tight lid will braise the same way.
Do you need to season an enameled or non-stick Dutch oven?
No. Seasoning applies only to bare cast iron. Enameled and coated surfaces are finished at the factory, and oiling them does nothing except leave a sticky film that collects dust in storage.
How do you clean burned food out of a Dutch oven?
Fill the pot with water to cover the burned area, add one tablespoon of baking soda, and simmer for five minutes. Most of the residue lifts with a wooden spoon. Repeat once before reaching for anything abrasive, which is what actually damages the surface.
Why did my braise turn out dry?
Four usual causes: the lid did not seal, the liquid started too low, the pot was too wide for the amount of food, or the oven ran hot and the liquid boiled away in the first hour. Start with the liquid at half the height of the food and check at the halfway point.
Can you bake bread in an aluminium non-stick Dutch oven?
If the pot and its lid are rated for the temperature. Most non-stick aluminium models handle 425 F, and many handle 450 F, but check the rating before preheating empty at high heat. If the limit is lower, bake at 425 F and add five minutes to the covered phase.
Learn the five-step rhythm on one dish, a three-pound chuck braise at 325 F with the liquid halfway up the meat, and every other job in the pot becomes a variation on something you already know. Brown in batches, deglaze properly, keep the liquid level honest, and take the lid off at the end. That sequence is what separates a Dutch oven from an ordinary pot, and it works the same whether the body is enameled cast iron, bare cast iron, or a lighter coated aluminium casserole.